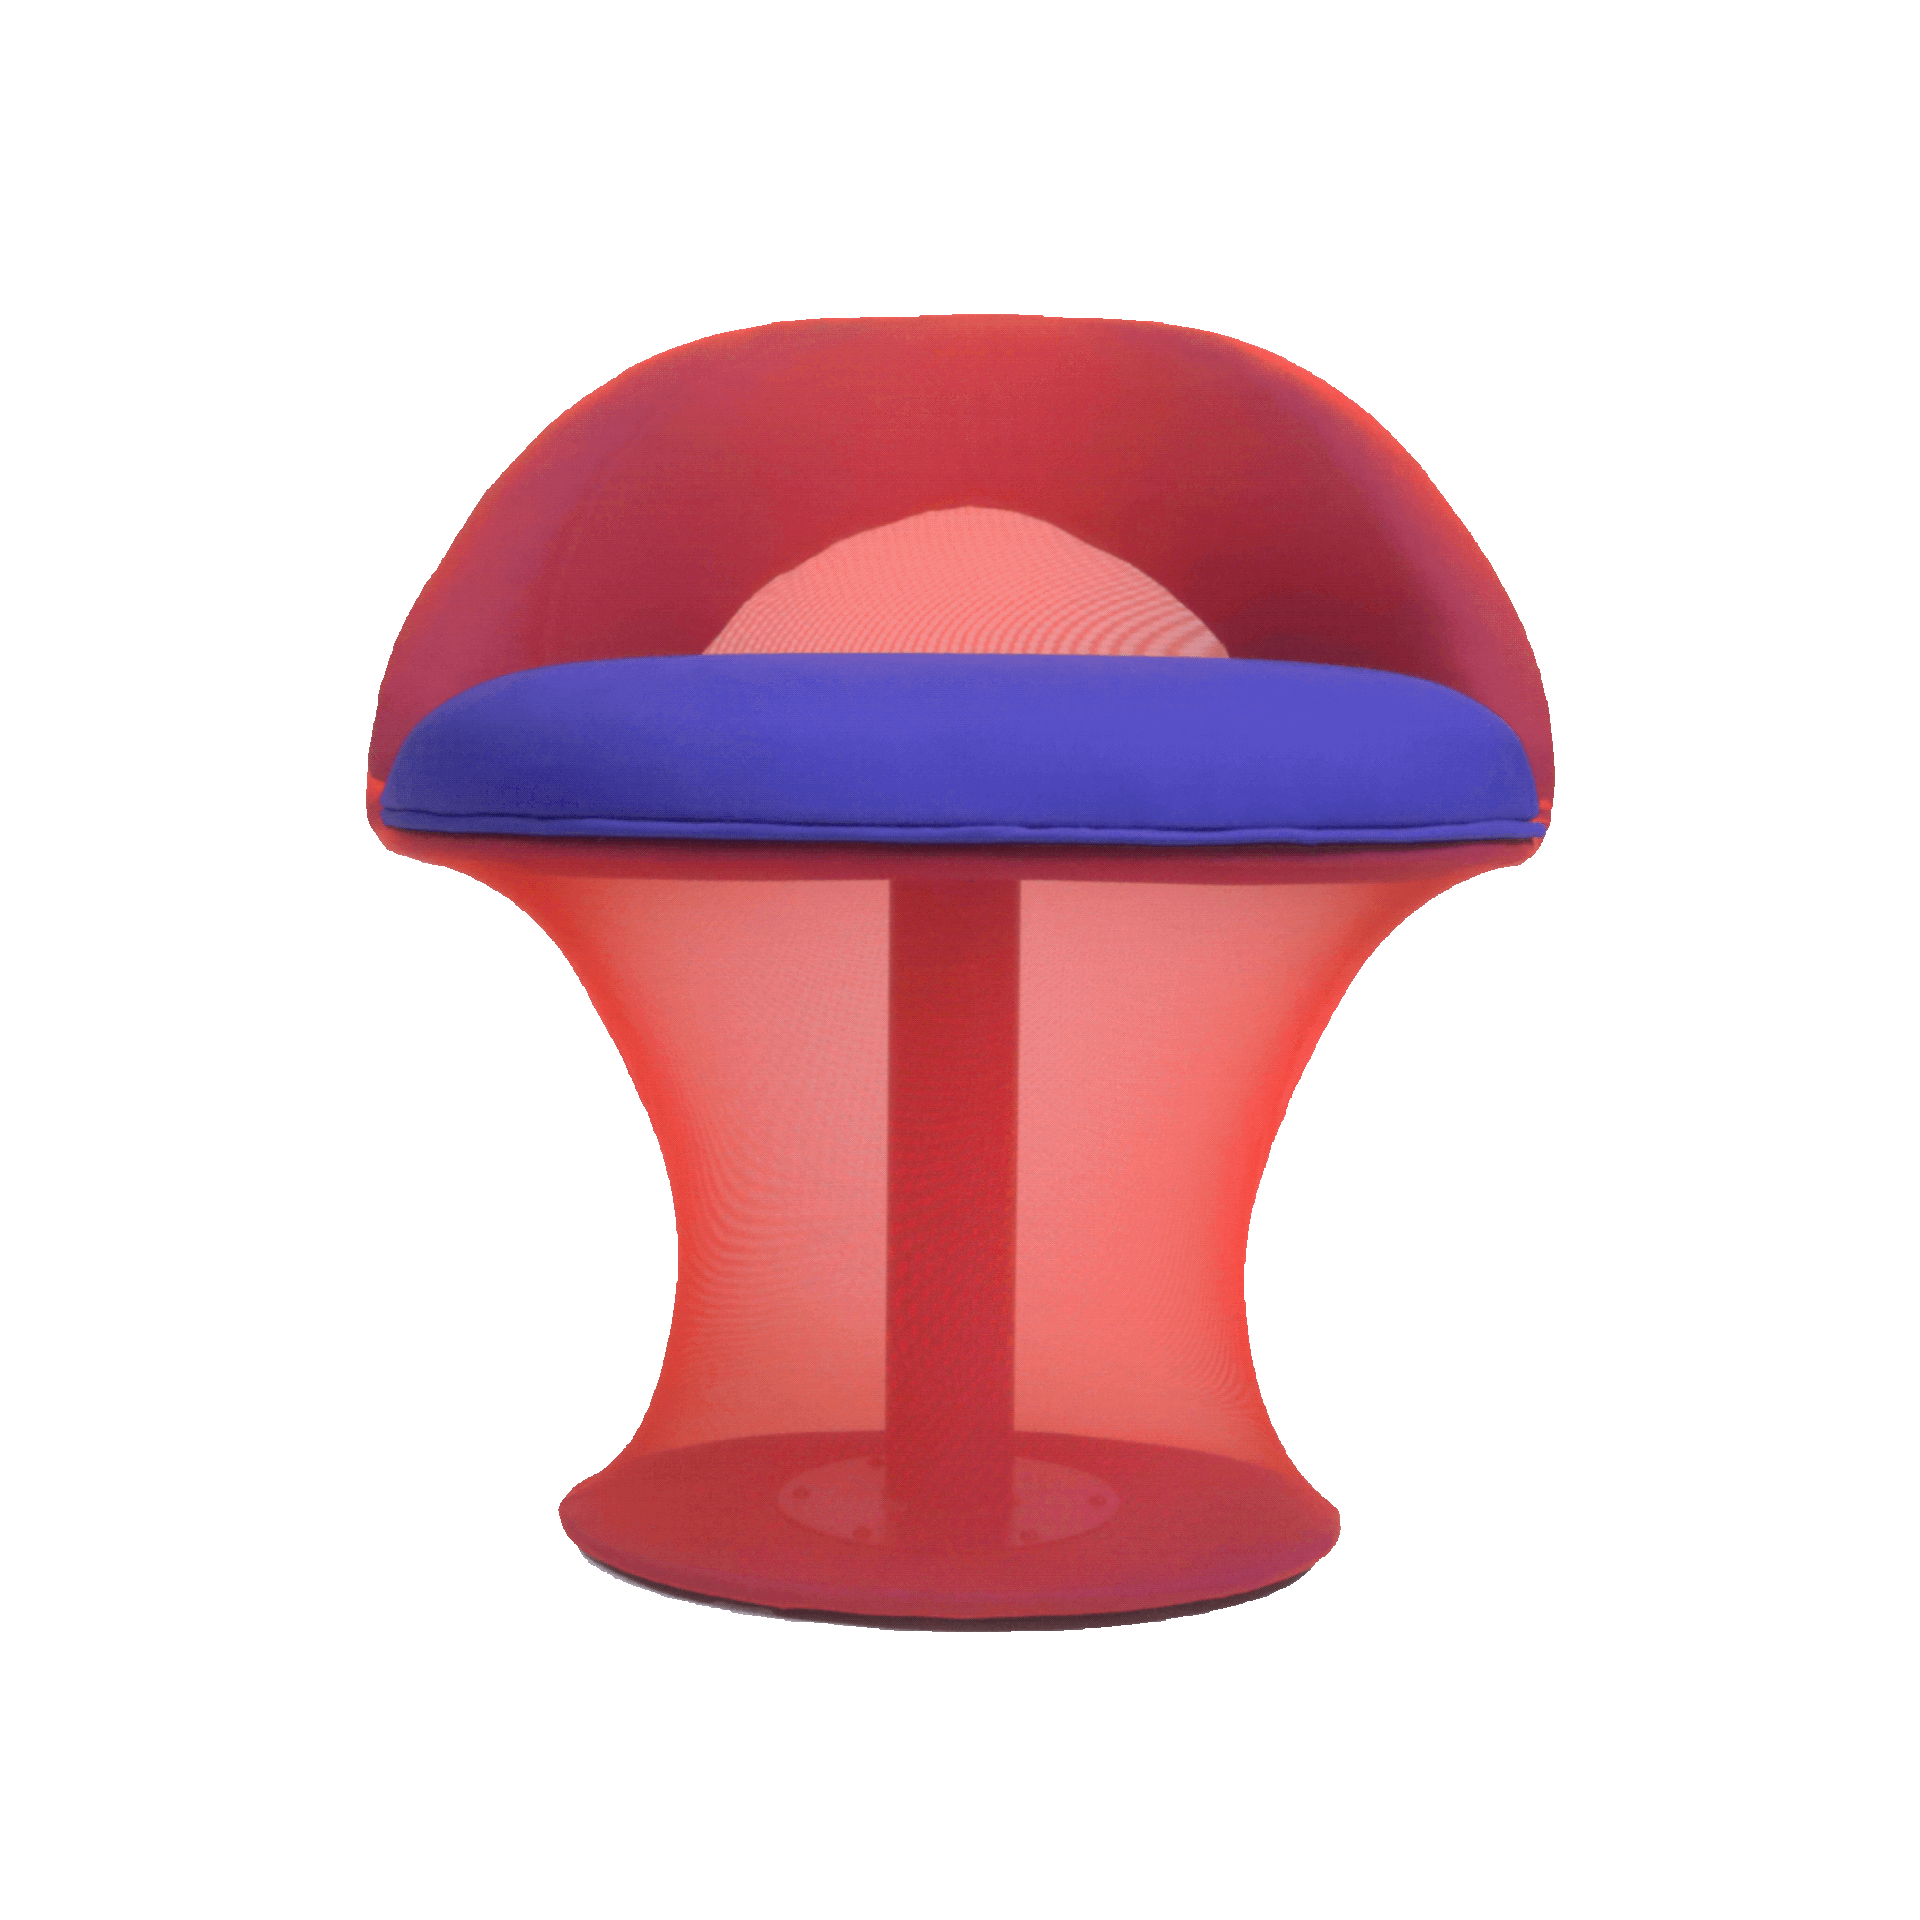
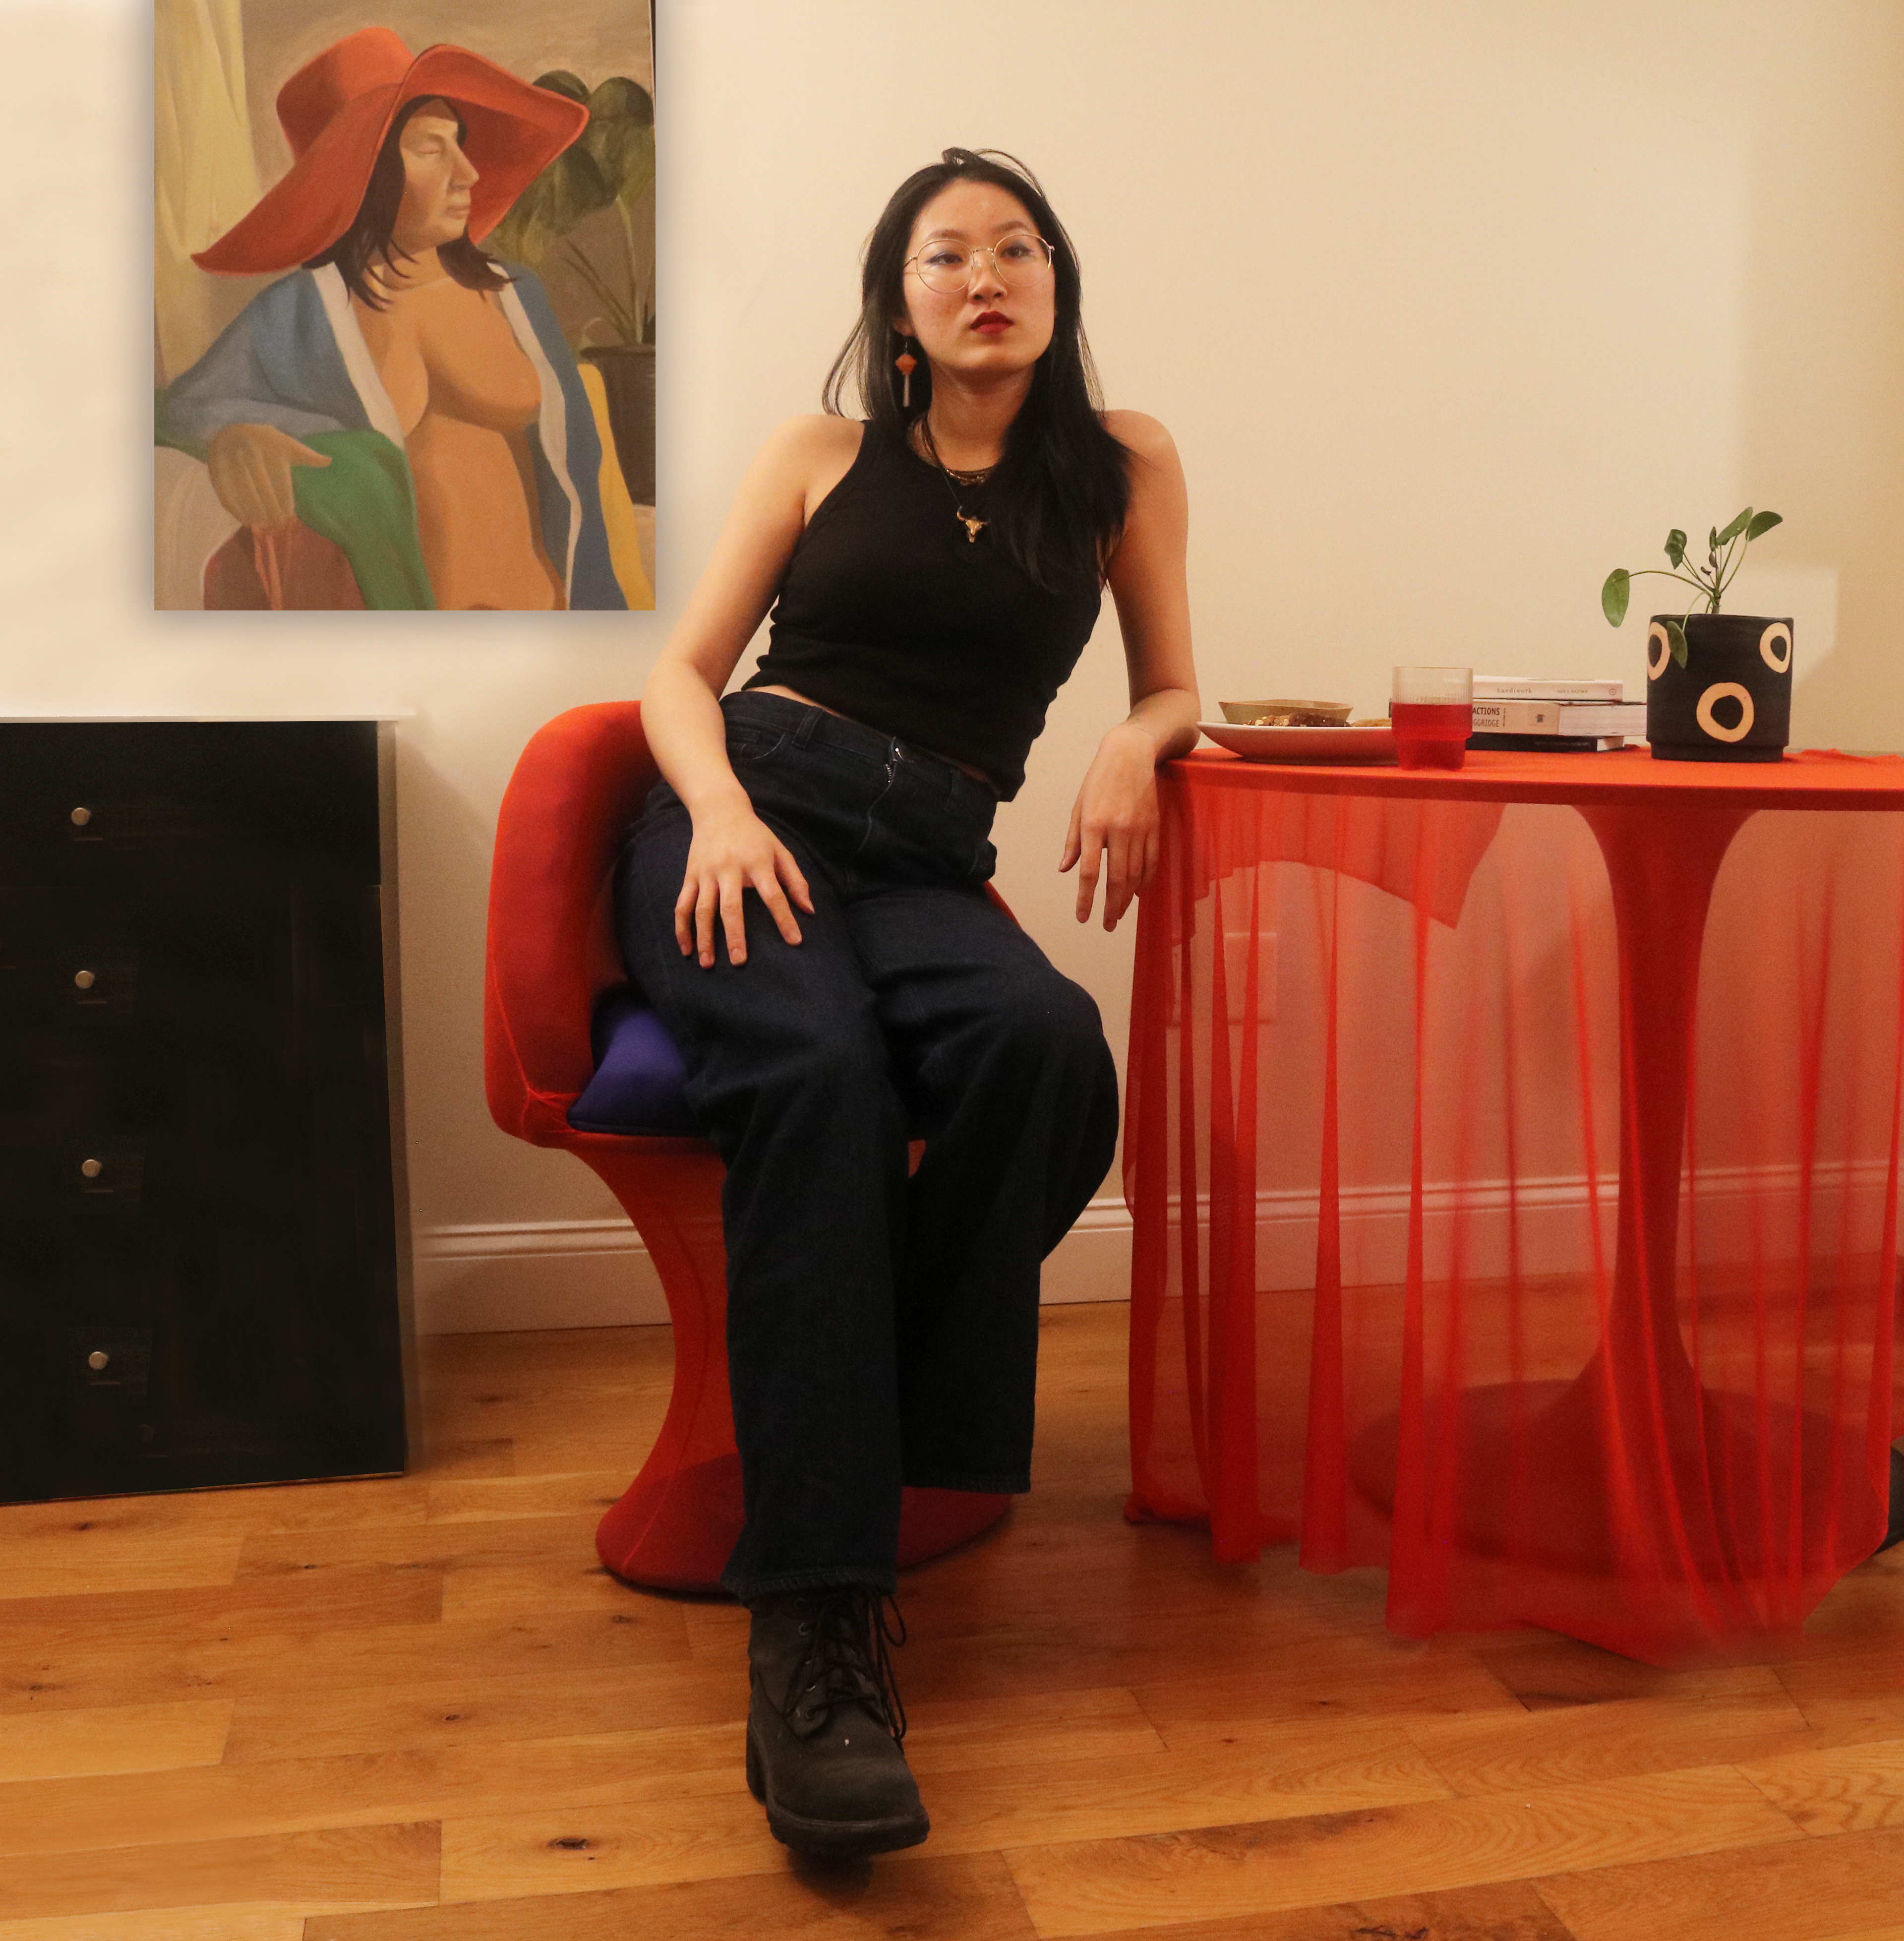
Initial Ideation
The idea of stretch upholstery was based on a the first sketch model shown below: a minimal frame with a sock stretched over it. Based on this initial exploration, I determined the structure should be an internal, central post instead of an external frame in order to maximize the curve of the stretch fabric. Adding a back created a more comfortable, complete form and added complexity to the stretch concept.

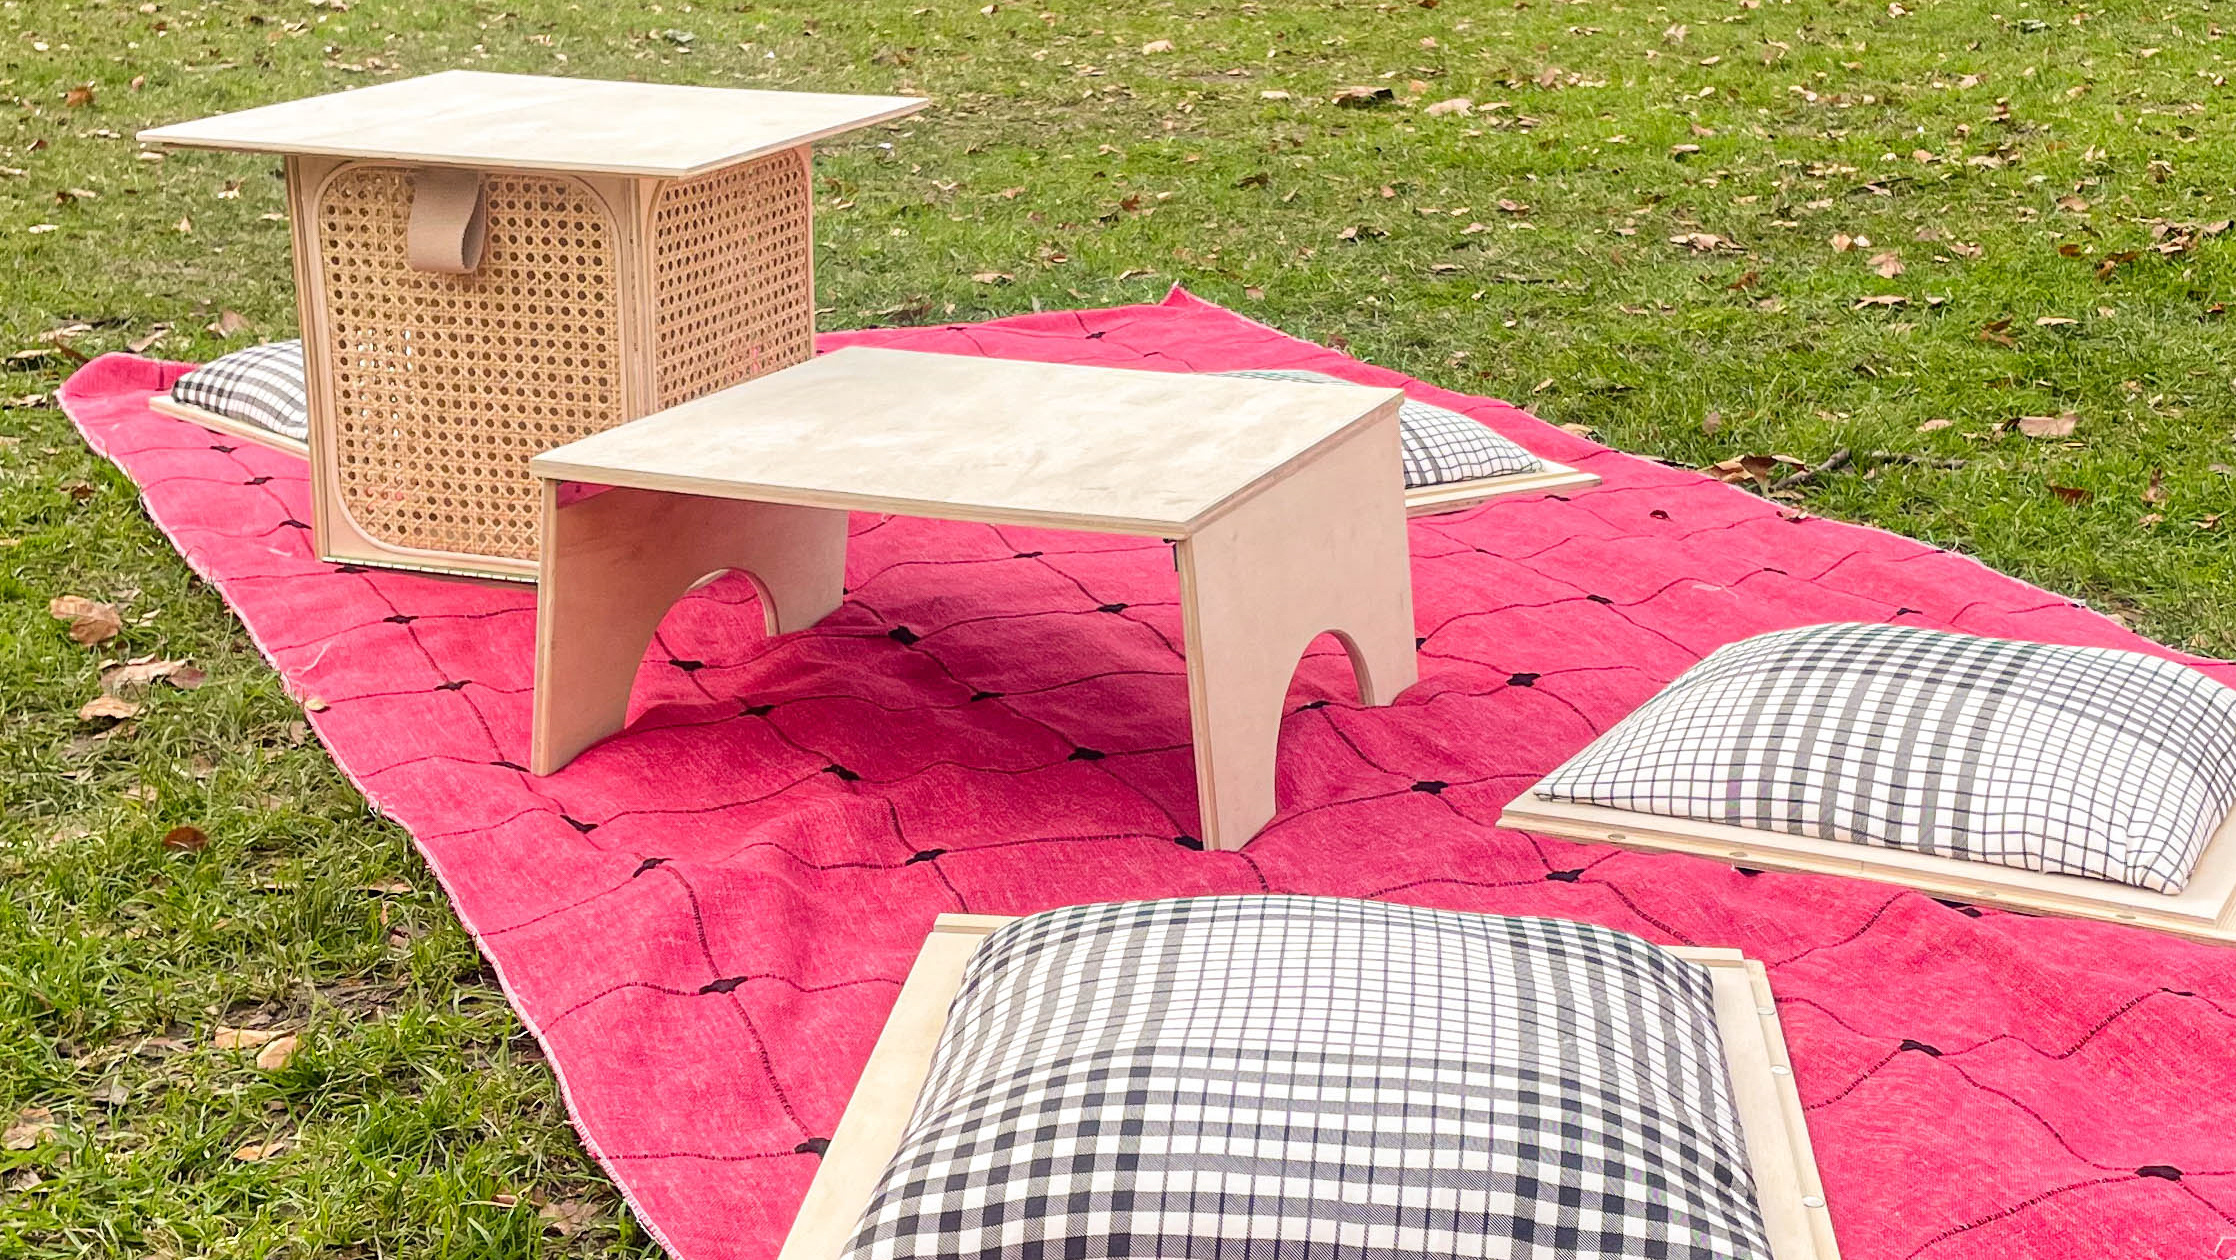
First Full Scale Iteration
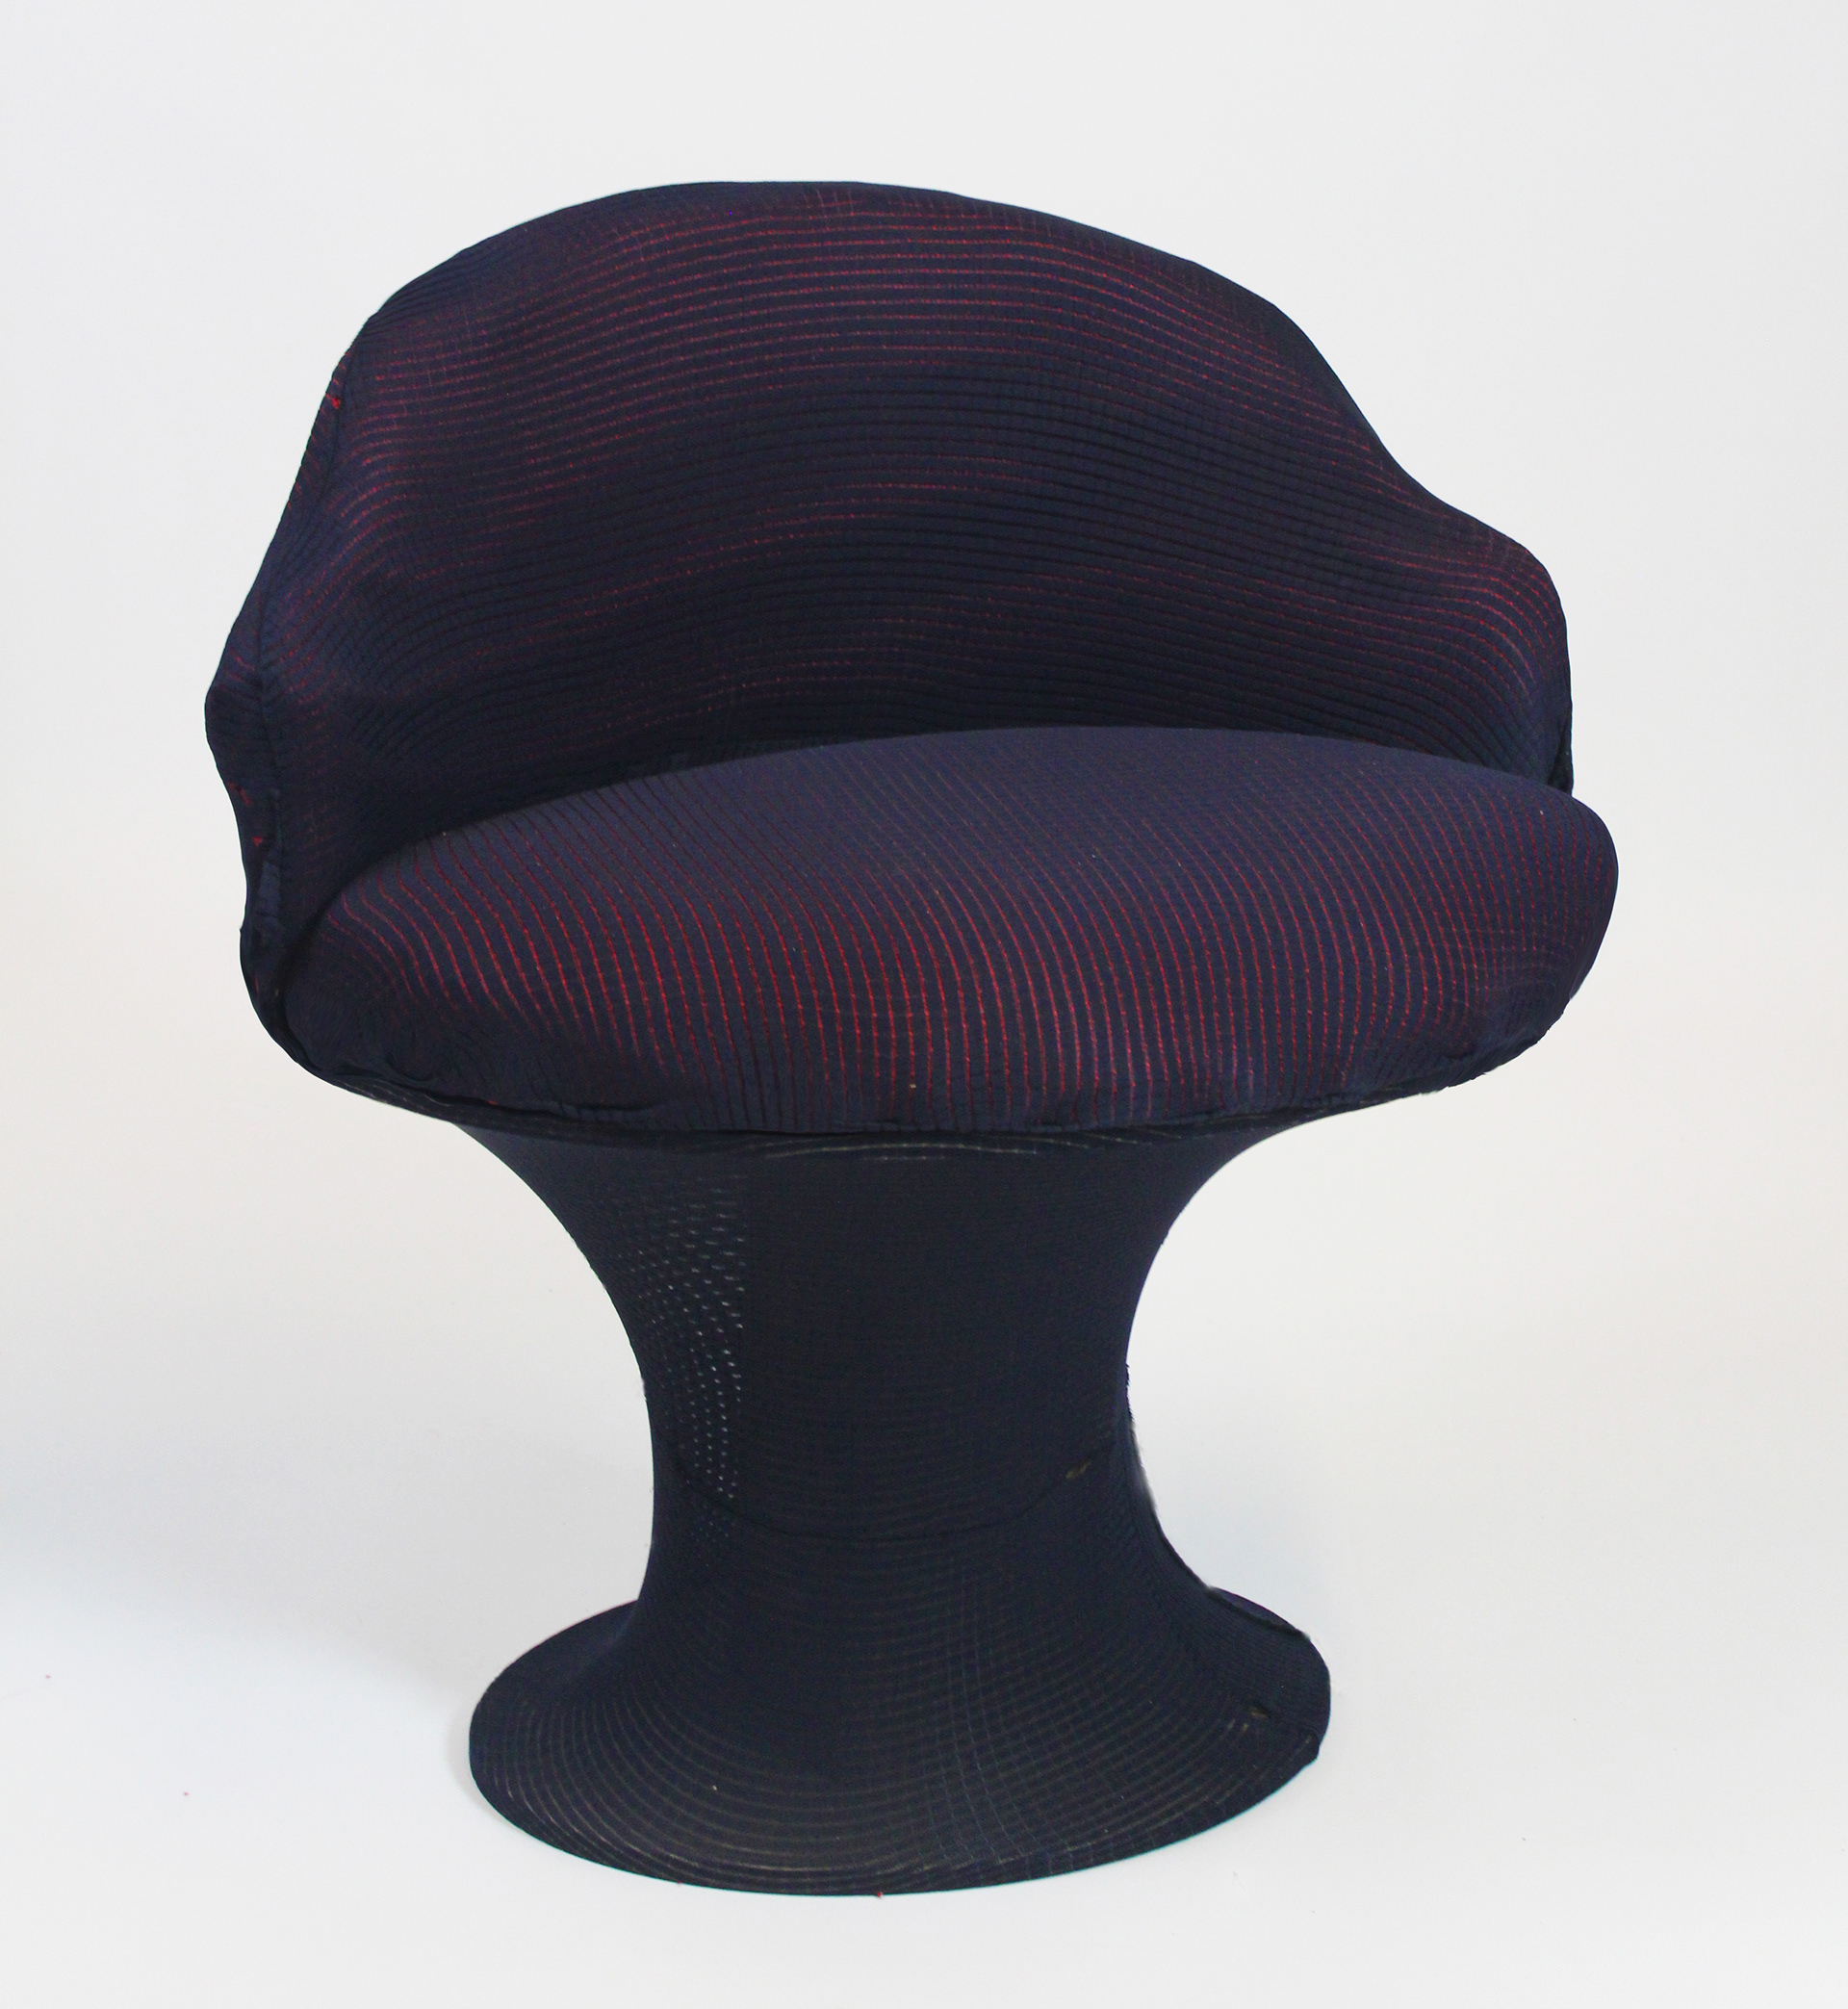
This proof of concept model taught me a lot about fabric properties, proportion, and visual weight. This model convinced me to add a back cutout in order to further highlight the fabric transparency. Additionally, my initial method of attaching the top cushion was convoluted, which led me to explore a magnetic attachment in future iterations. Beyond this, further material development for the upholstery and center support was needed.
Frame Development
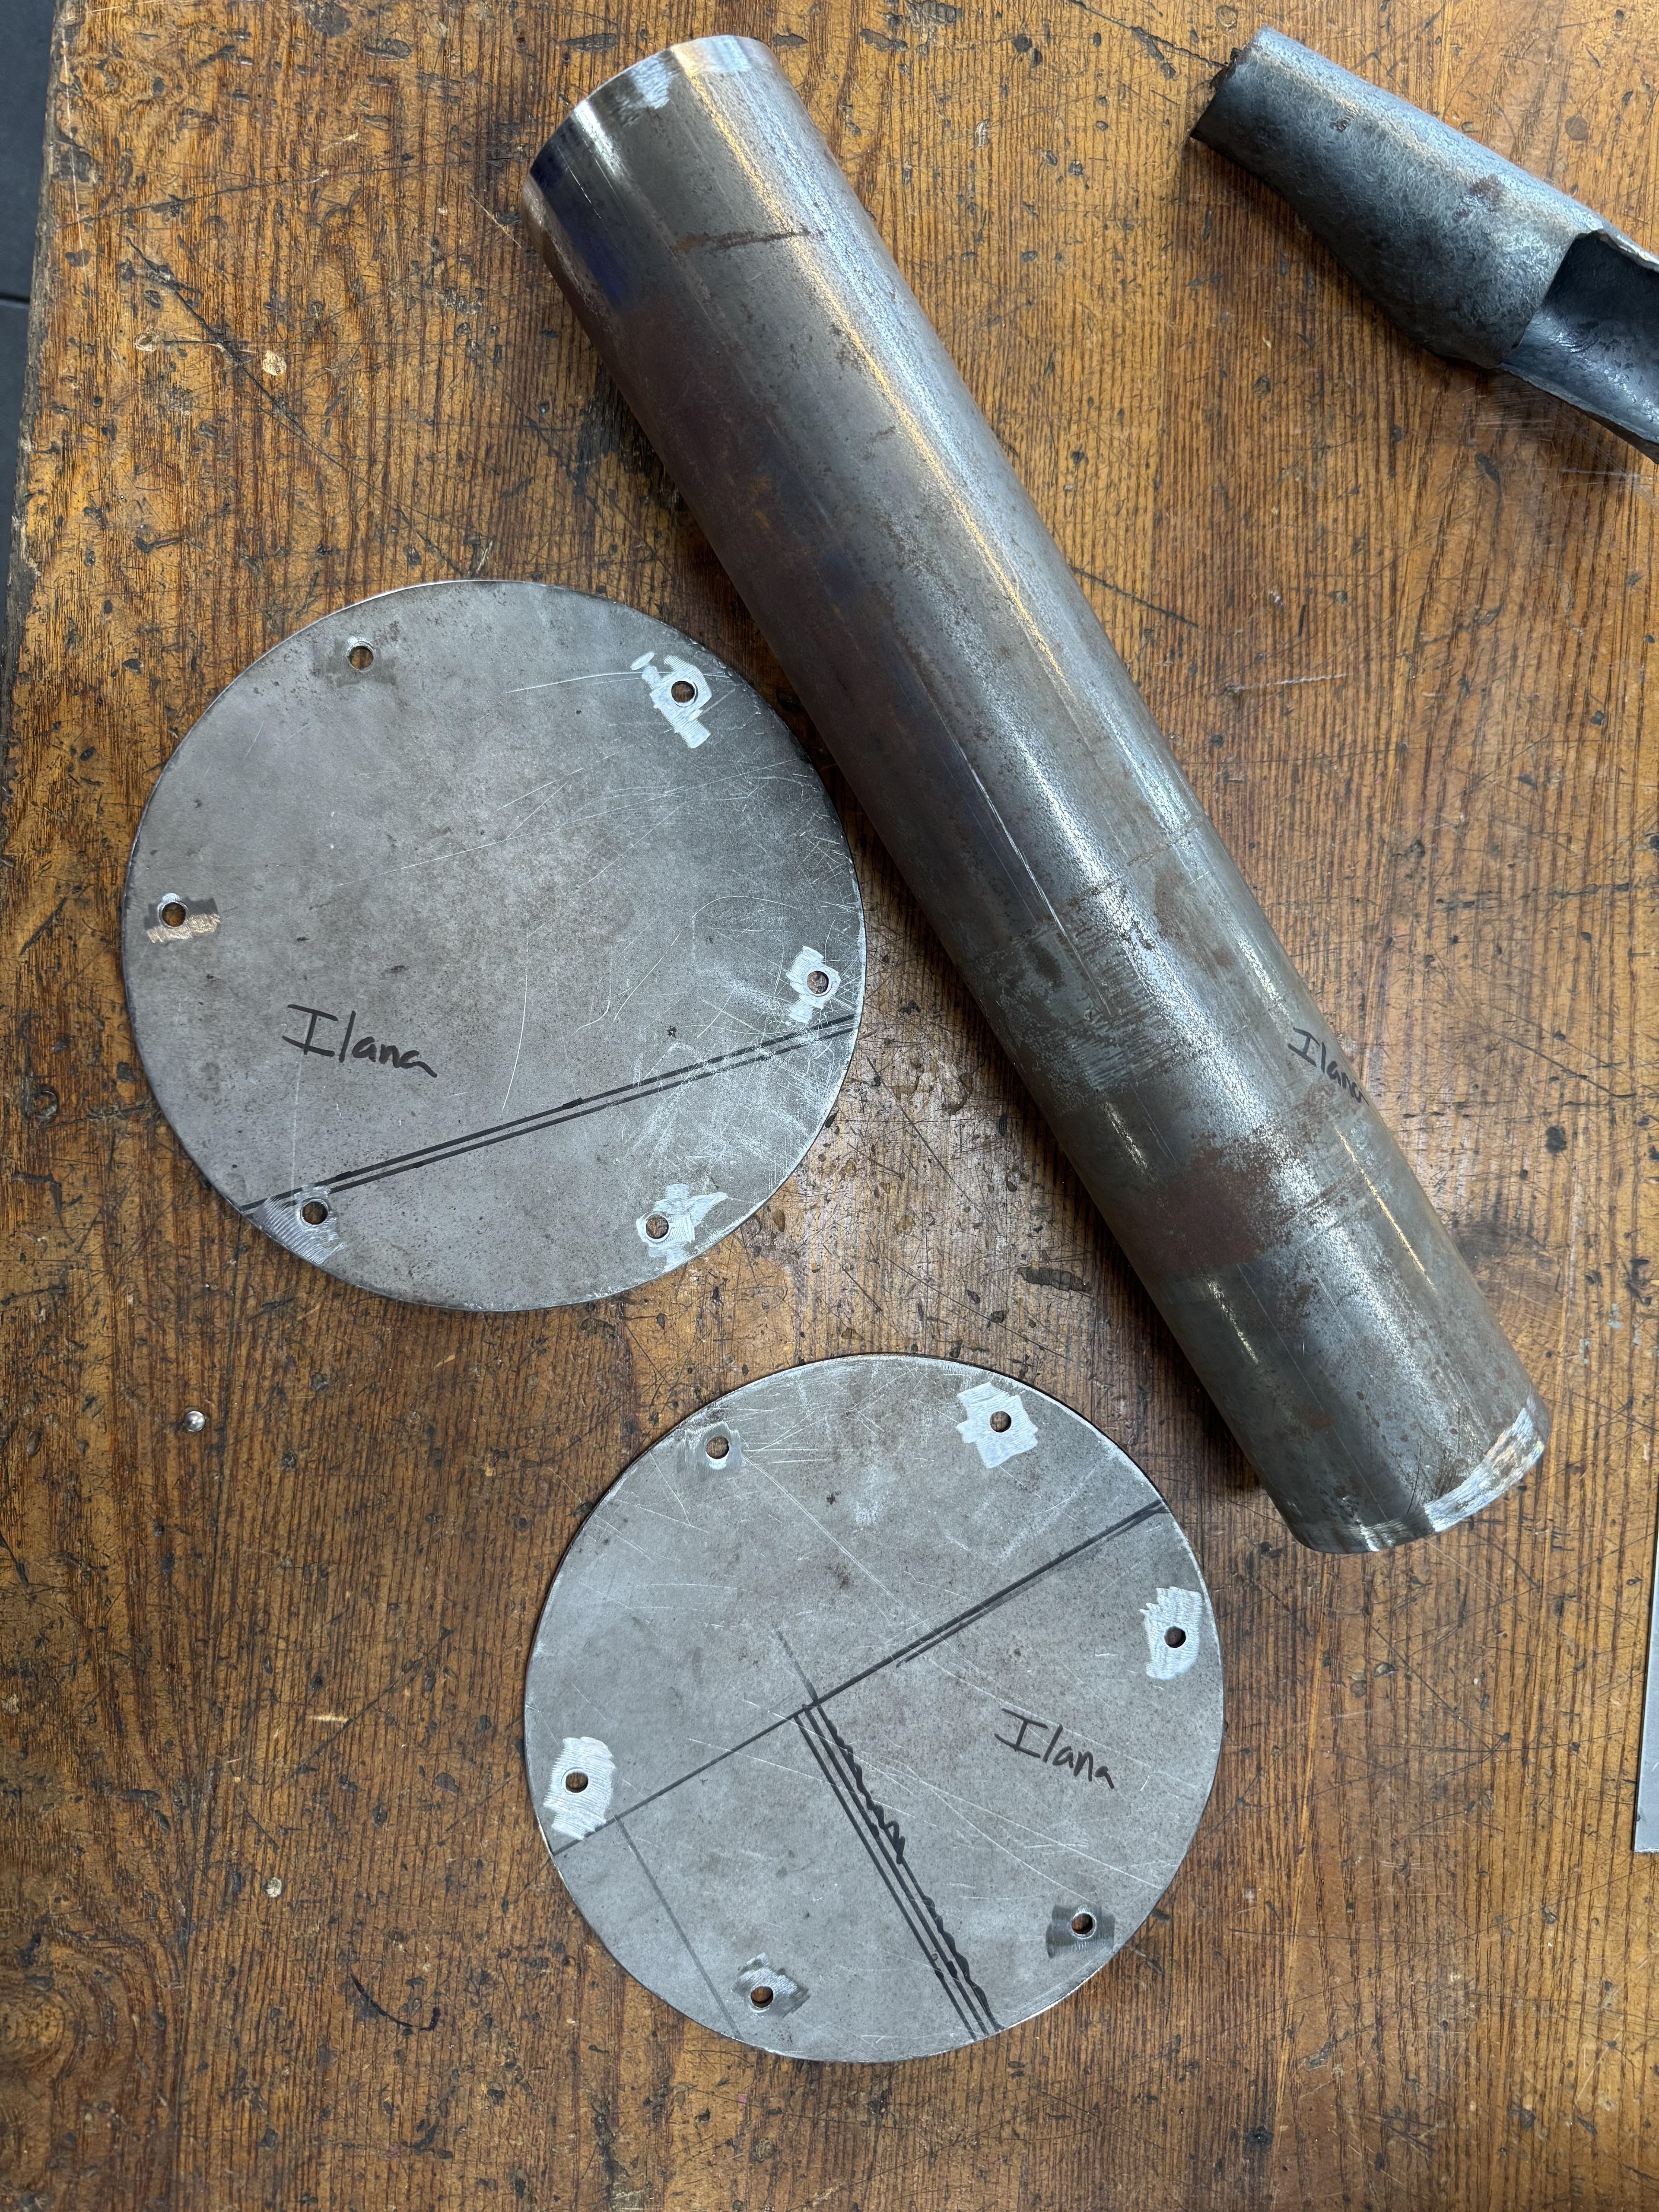
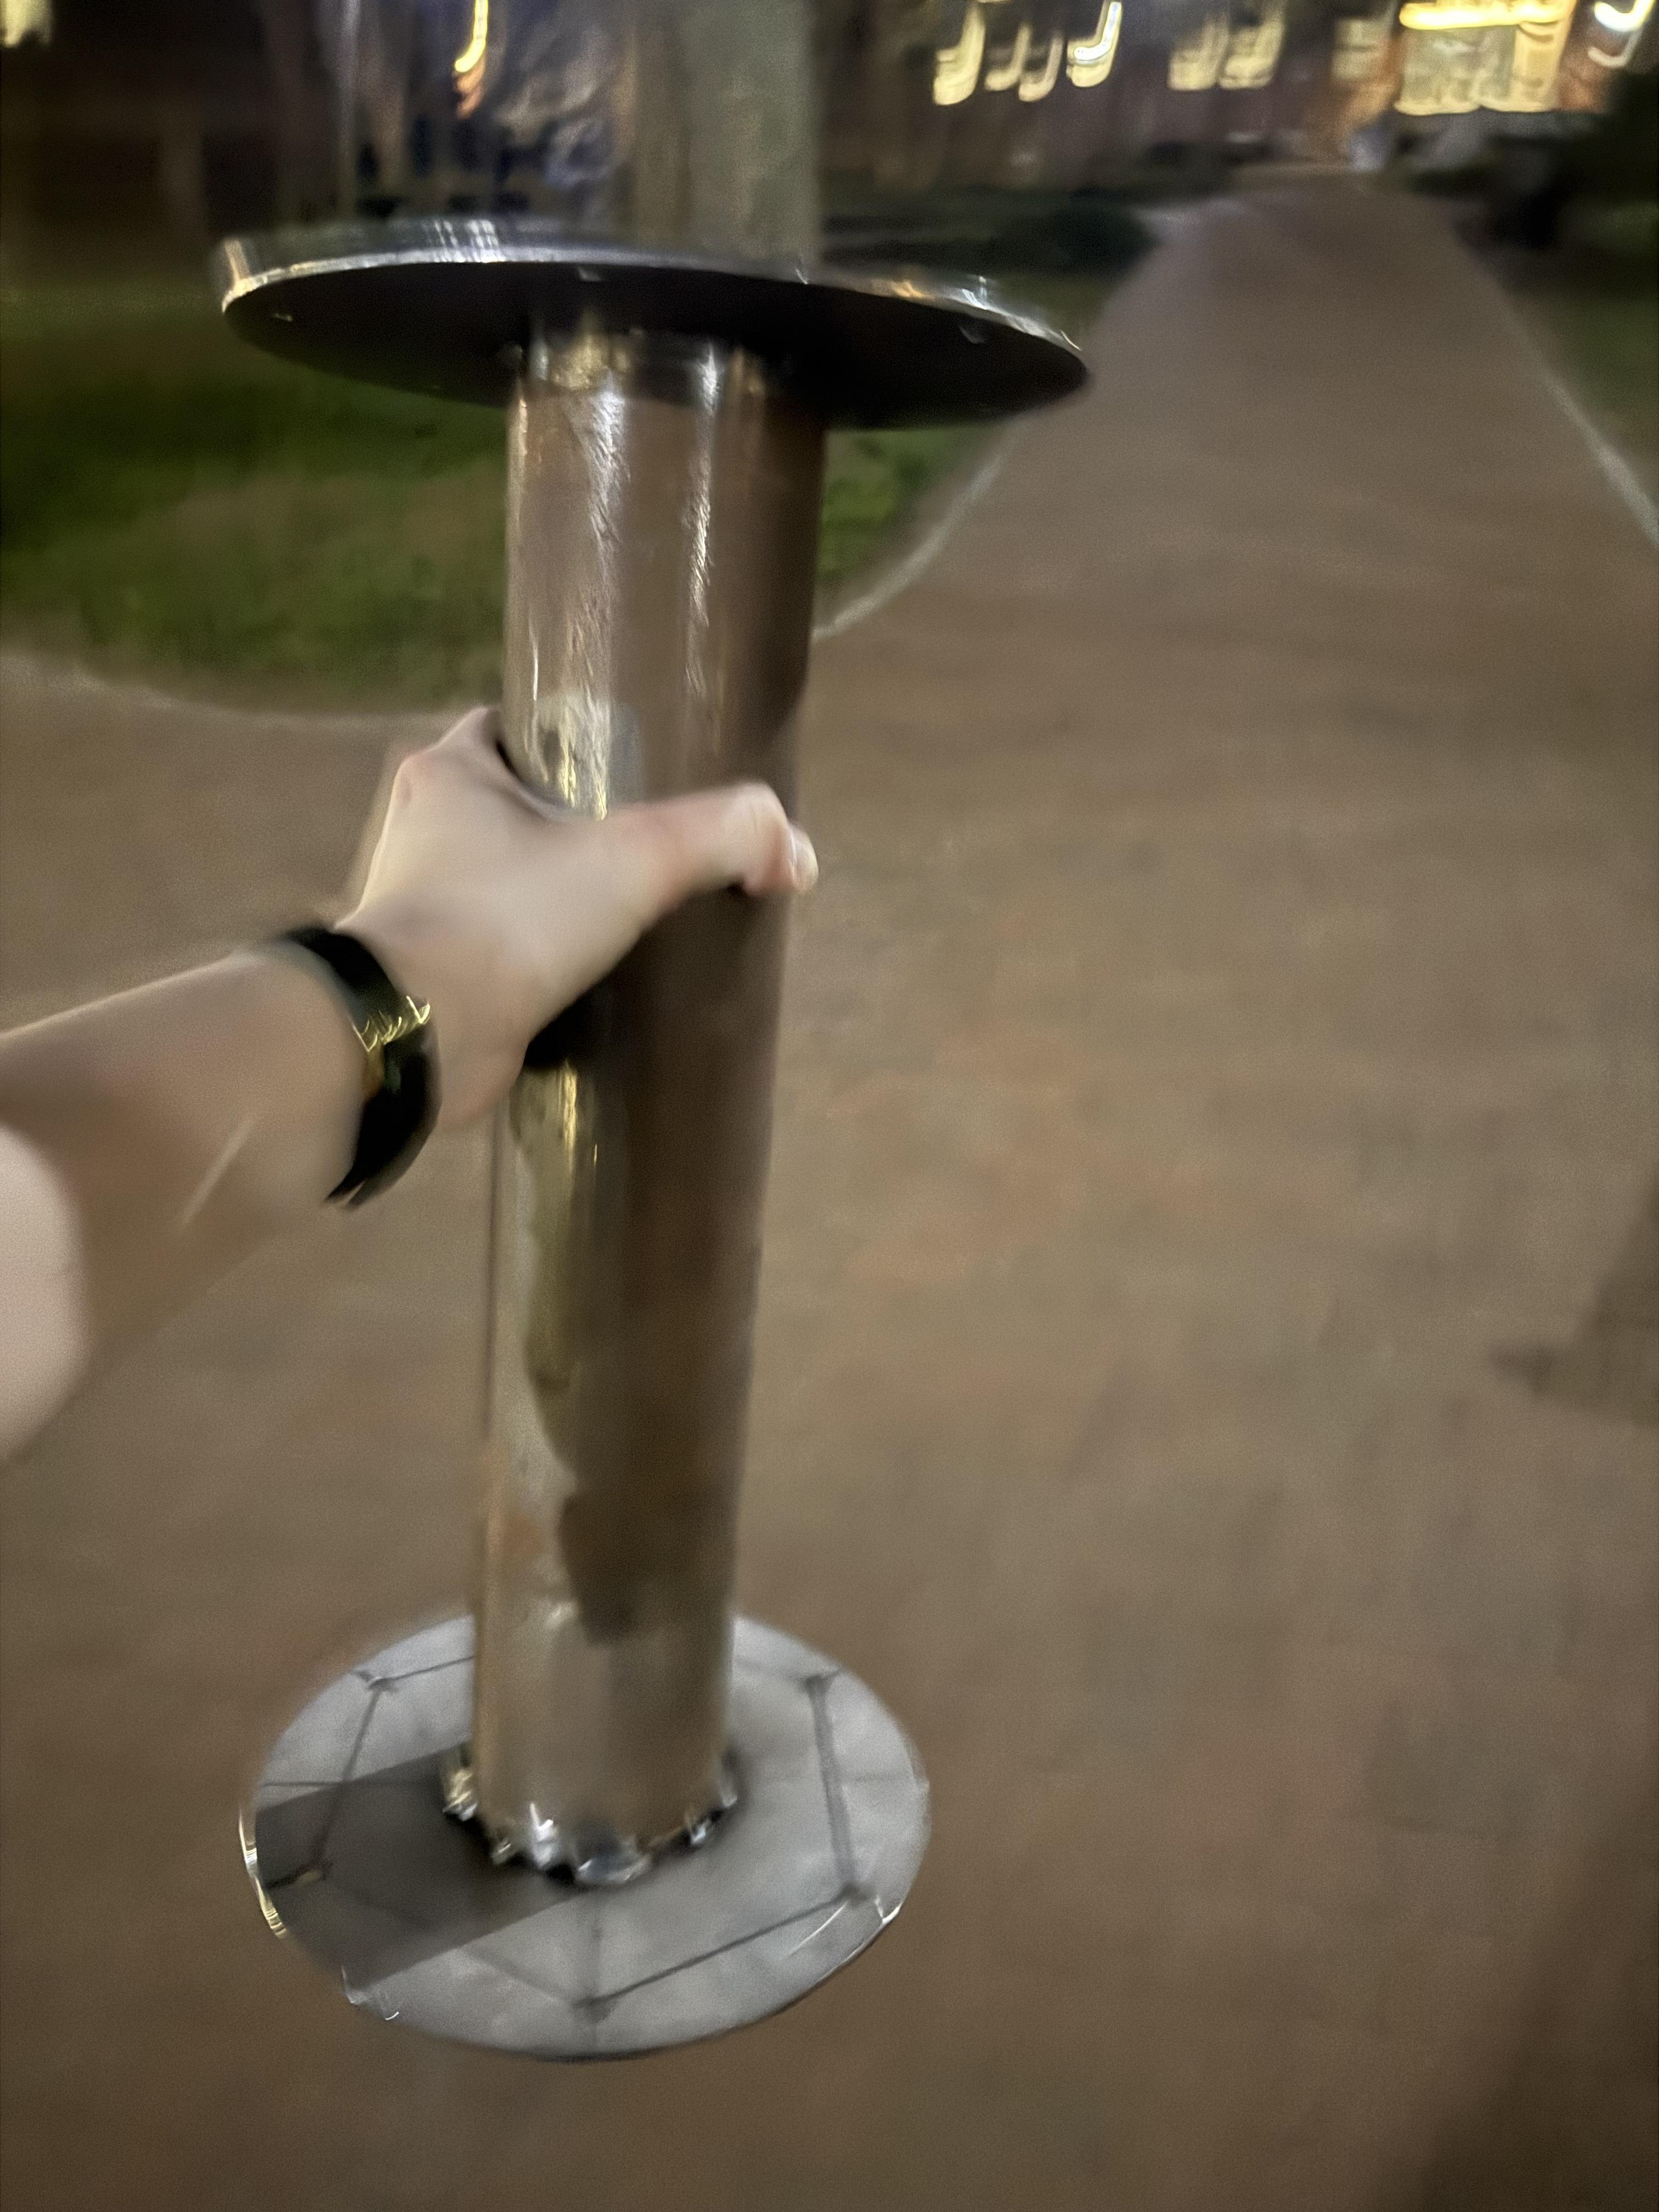
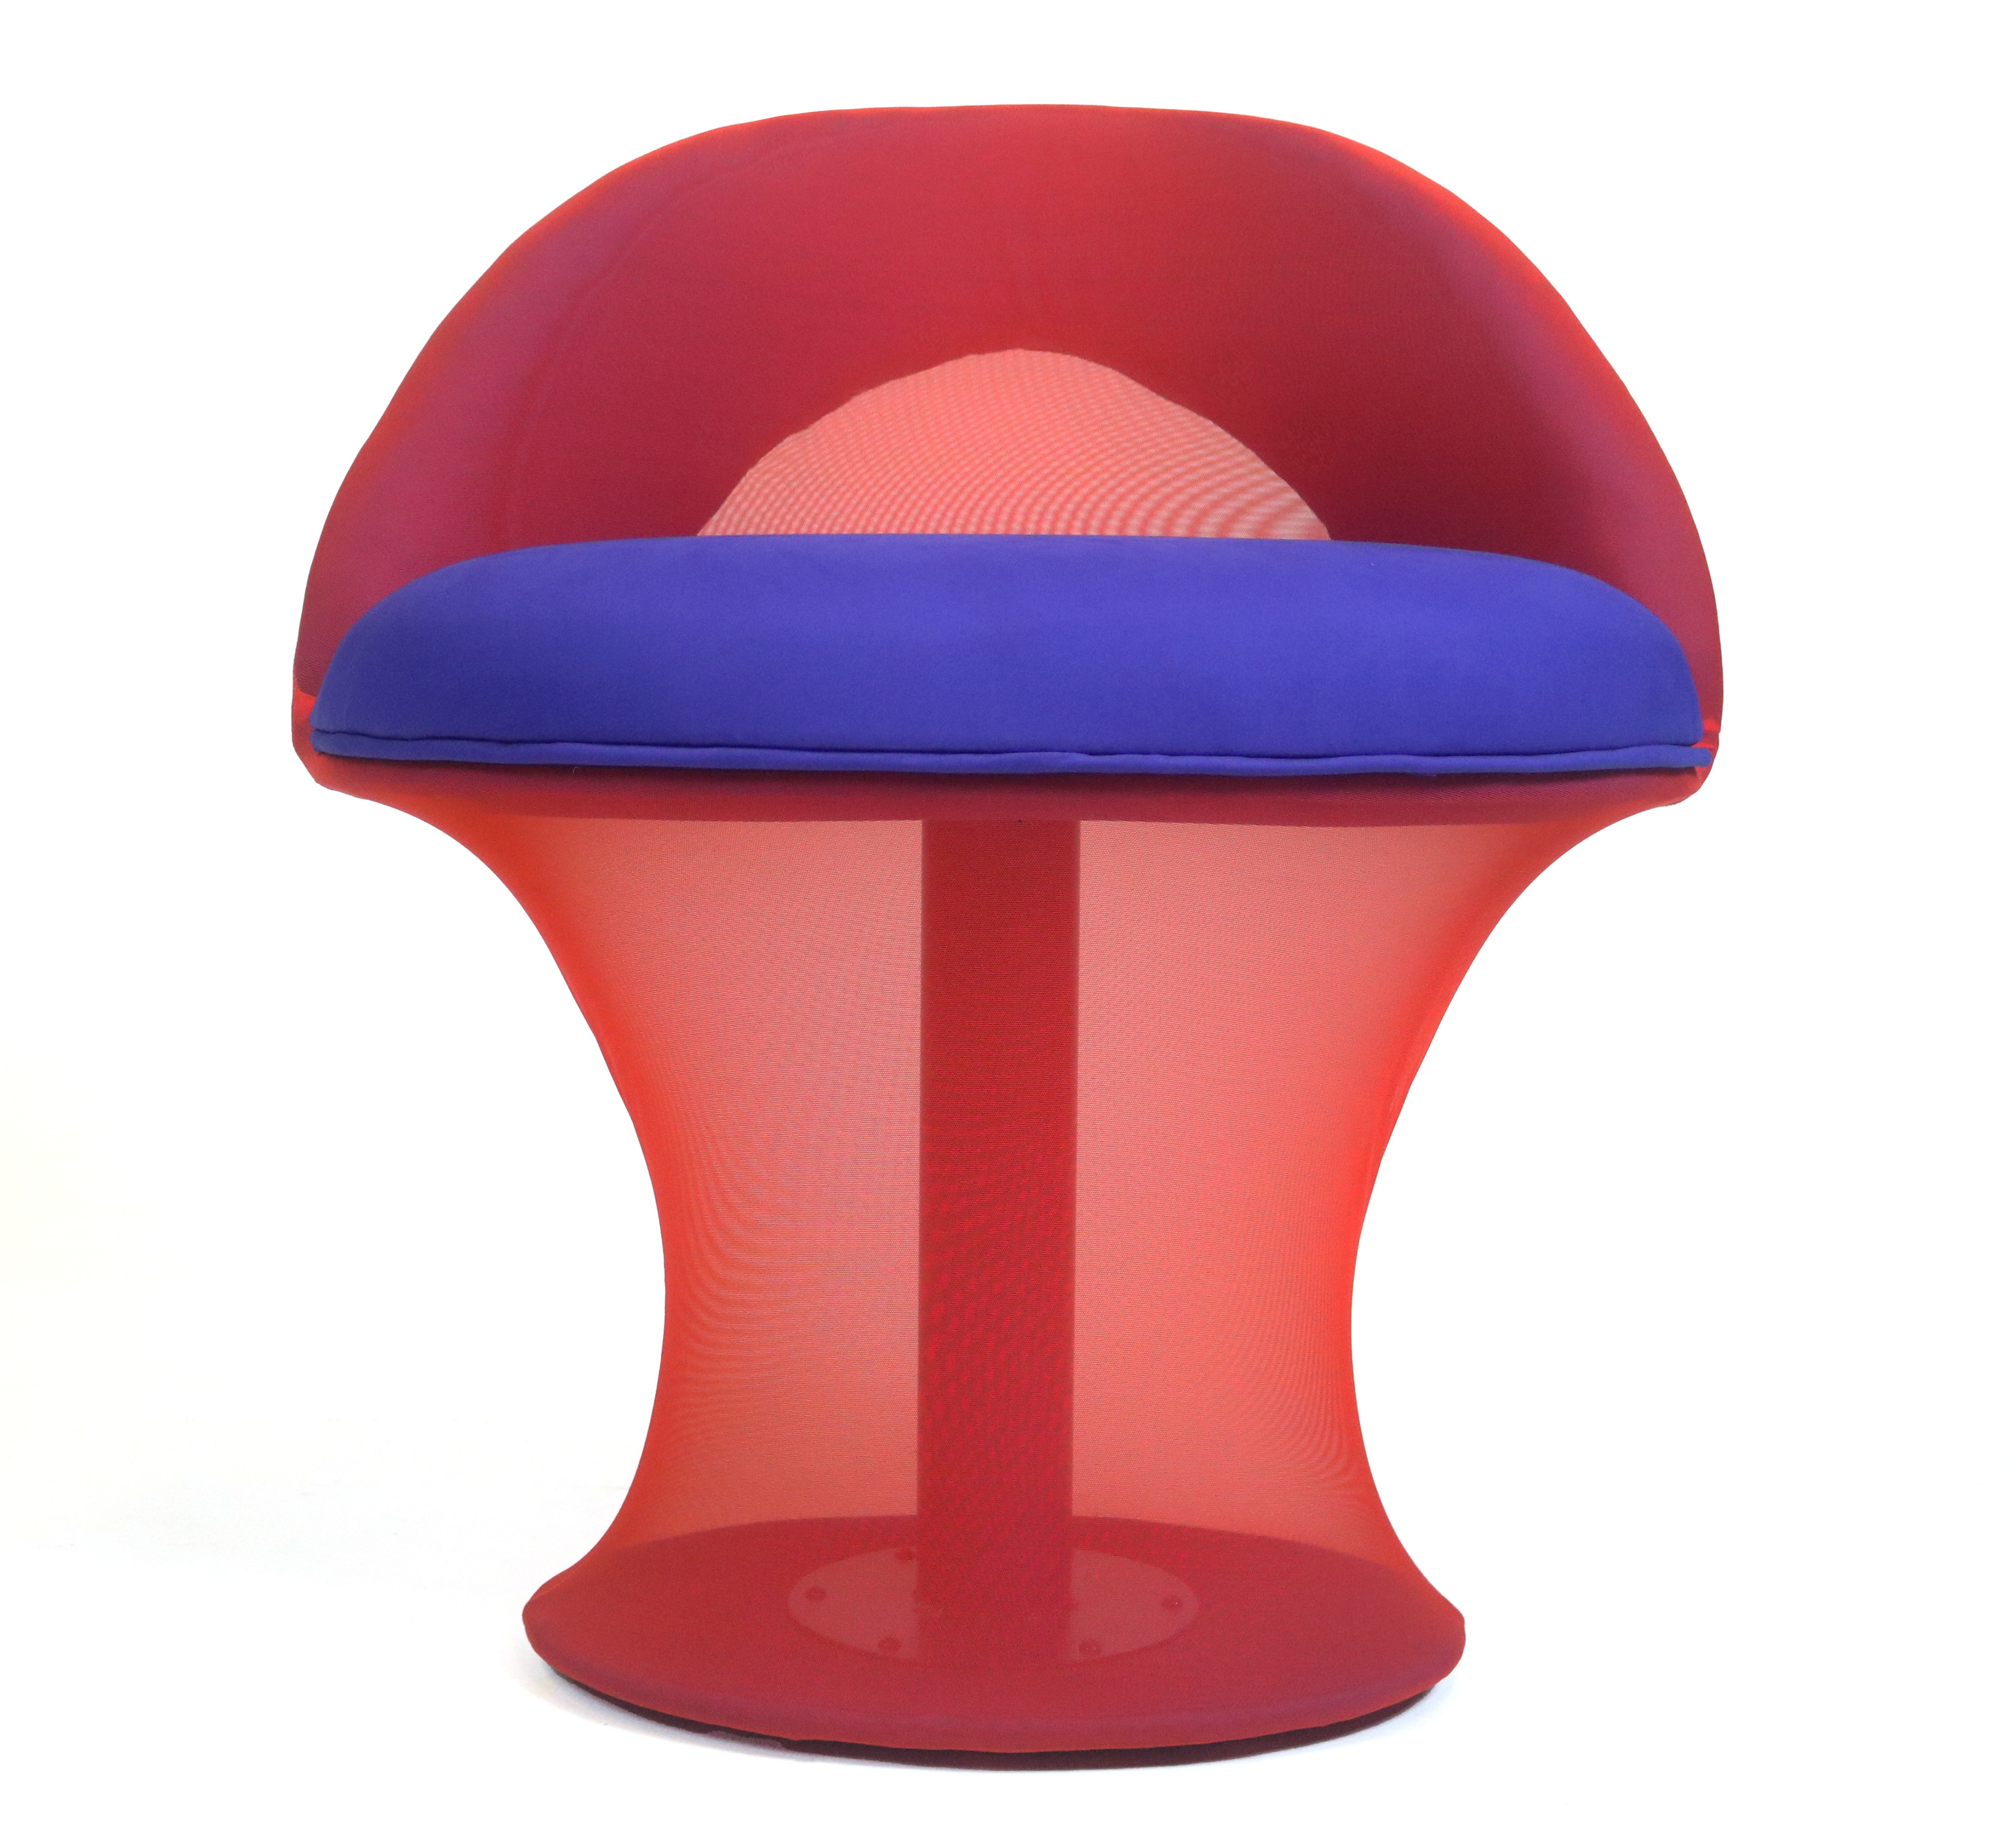
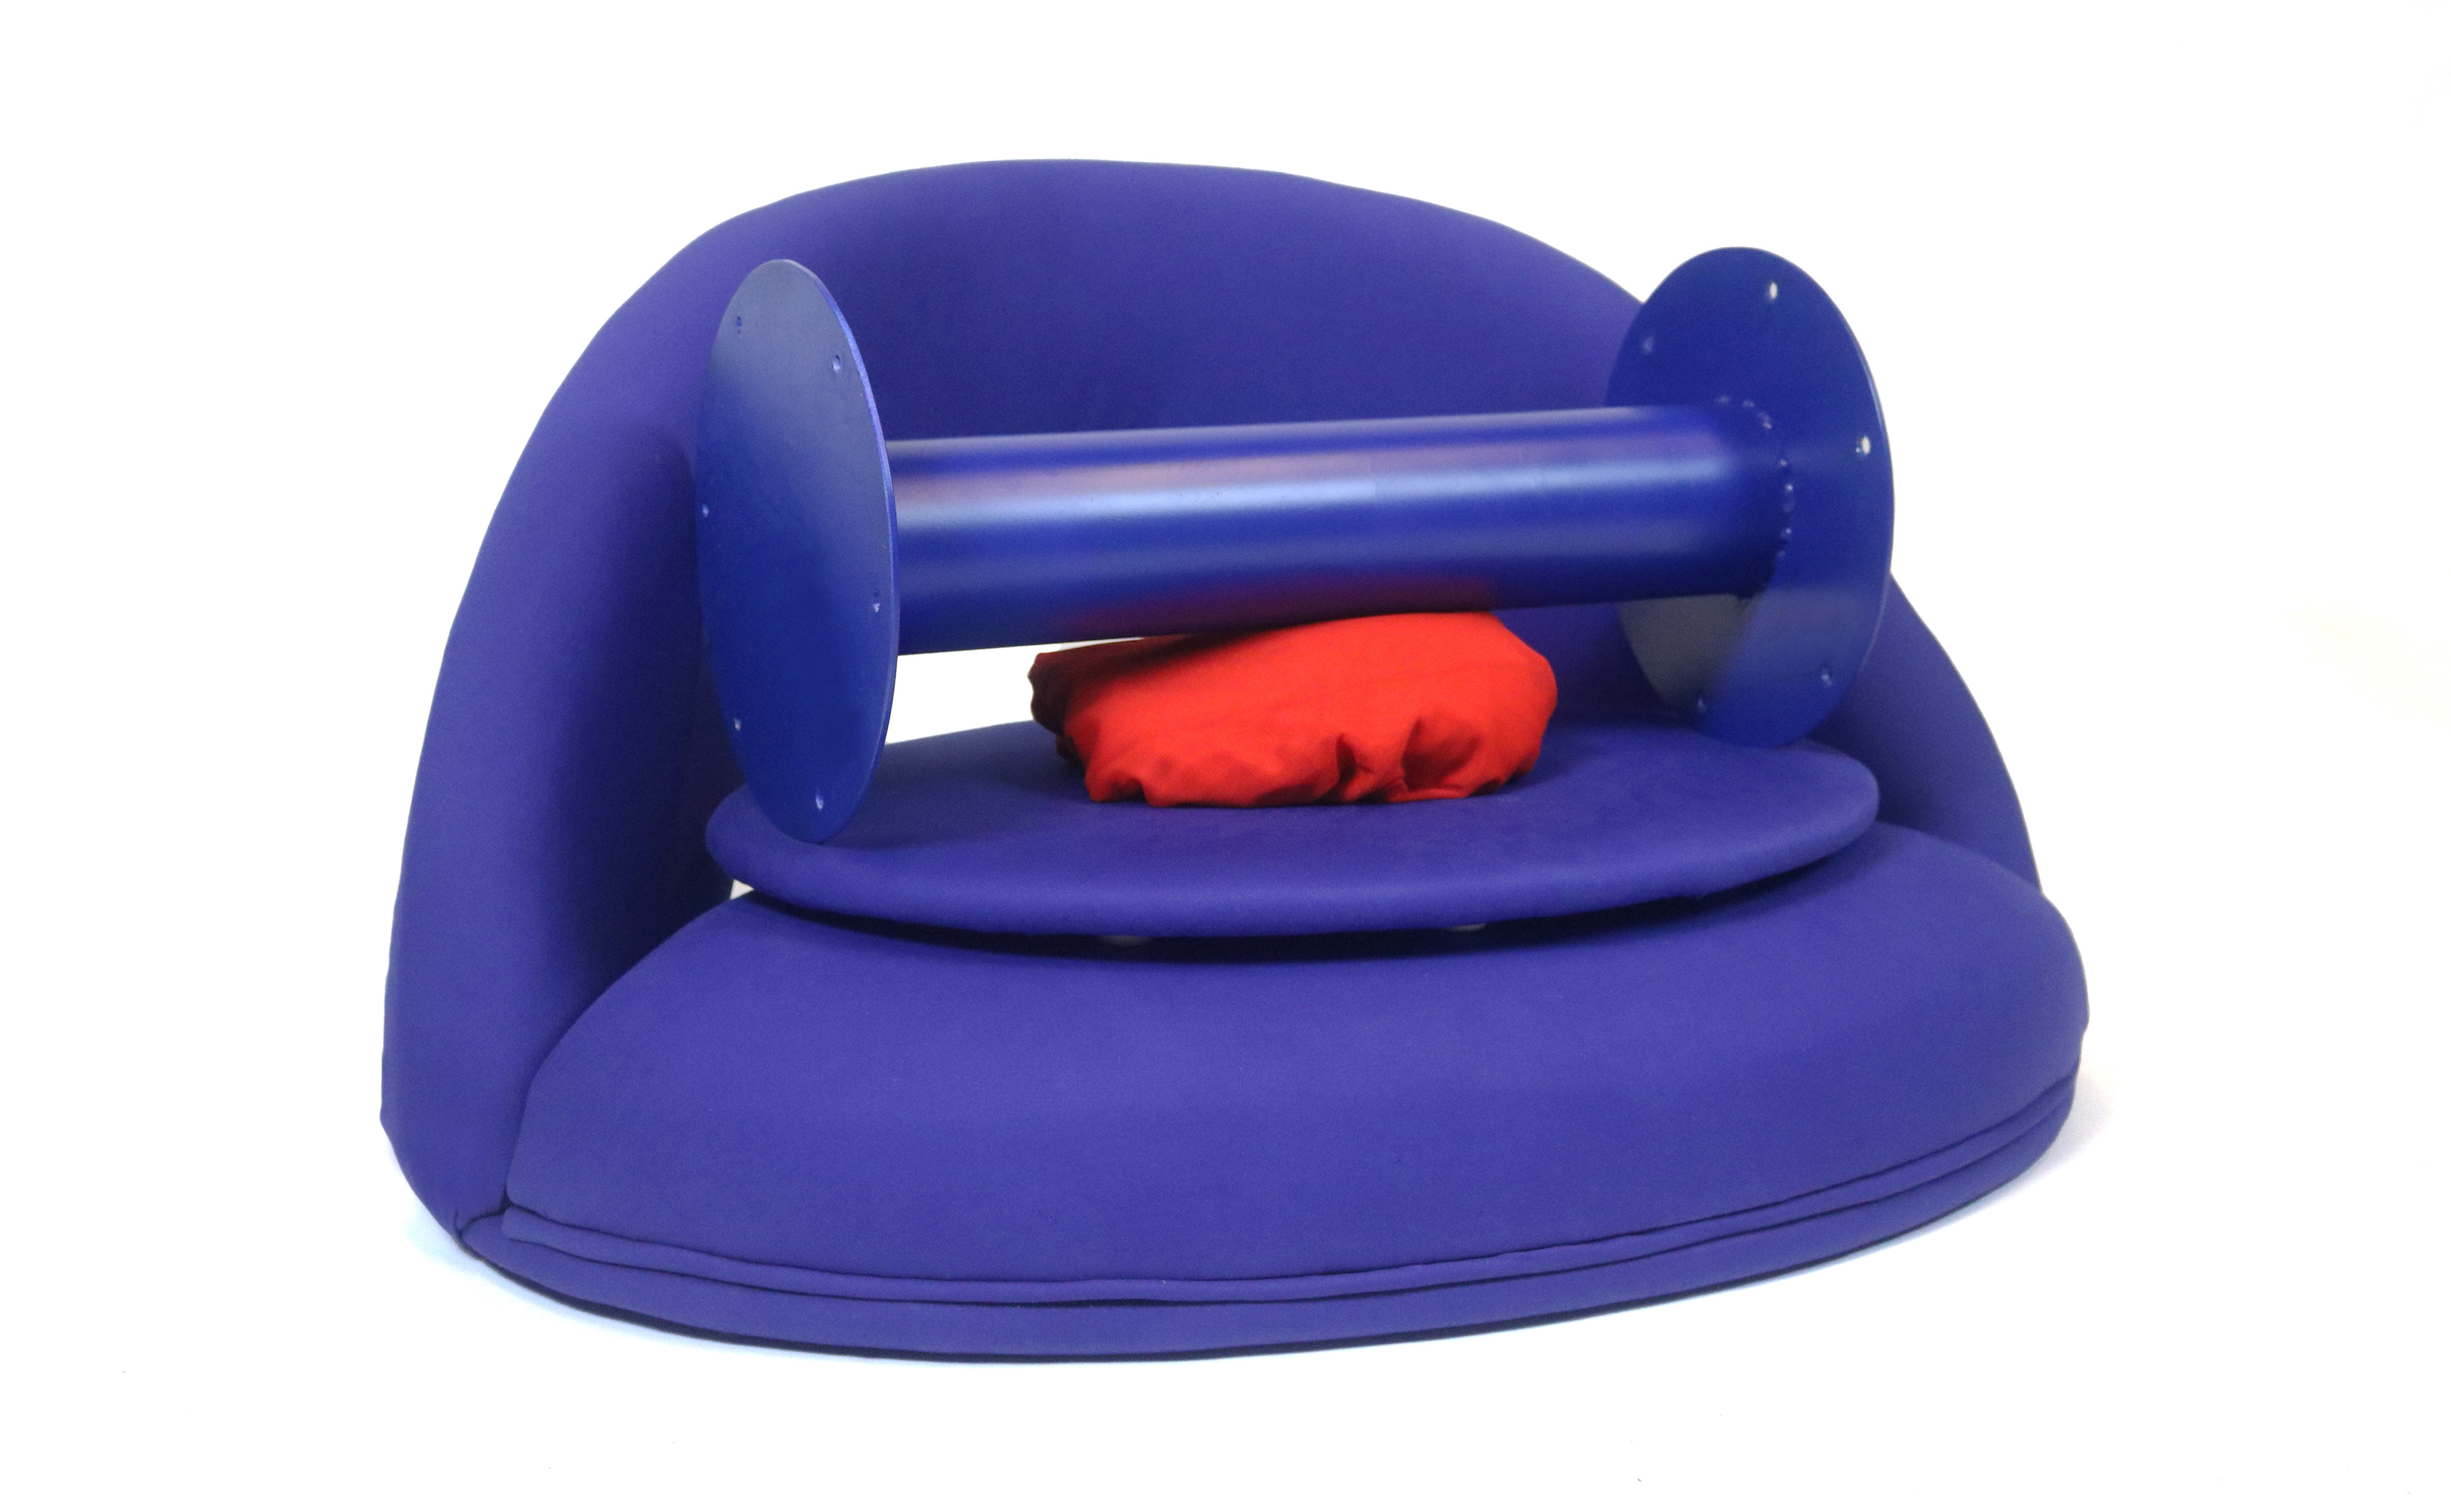
To replace the MDF box, I created this metal center support with the help of the Pratt metal shop. After creating the post, I sandblasted and painted it to color match the blue upholstery fabric.
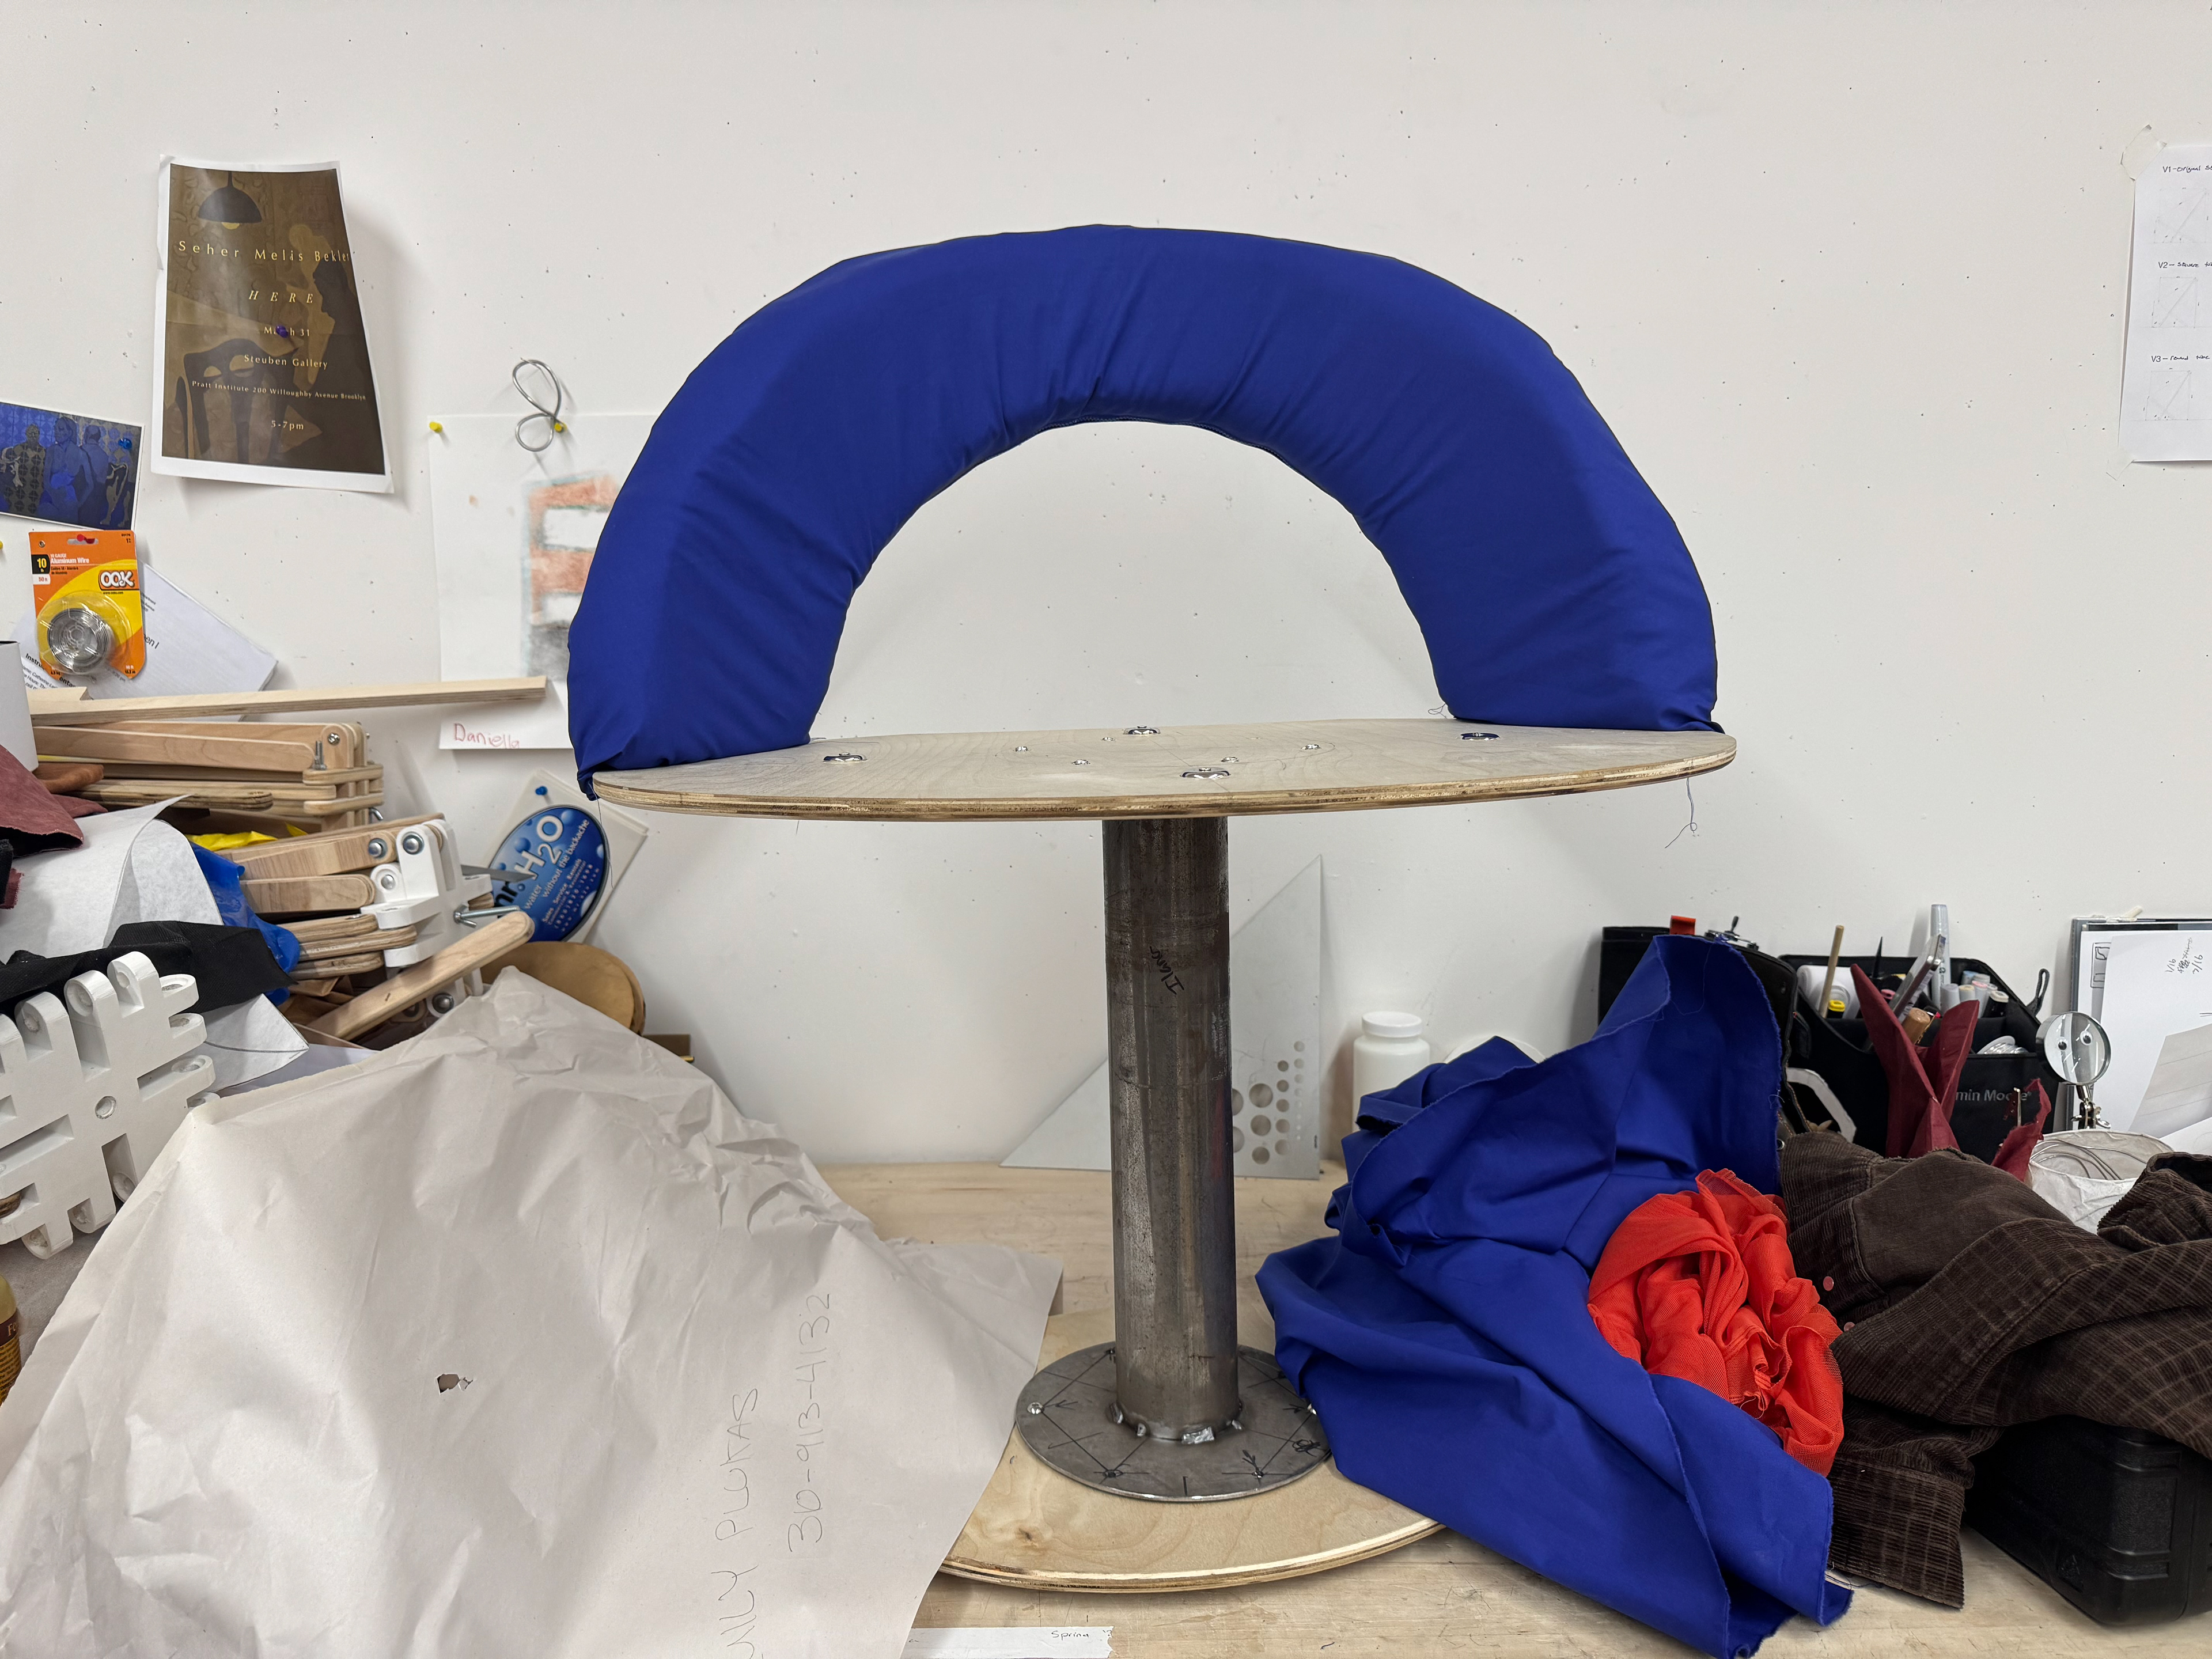
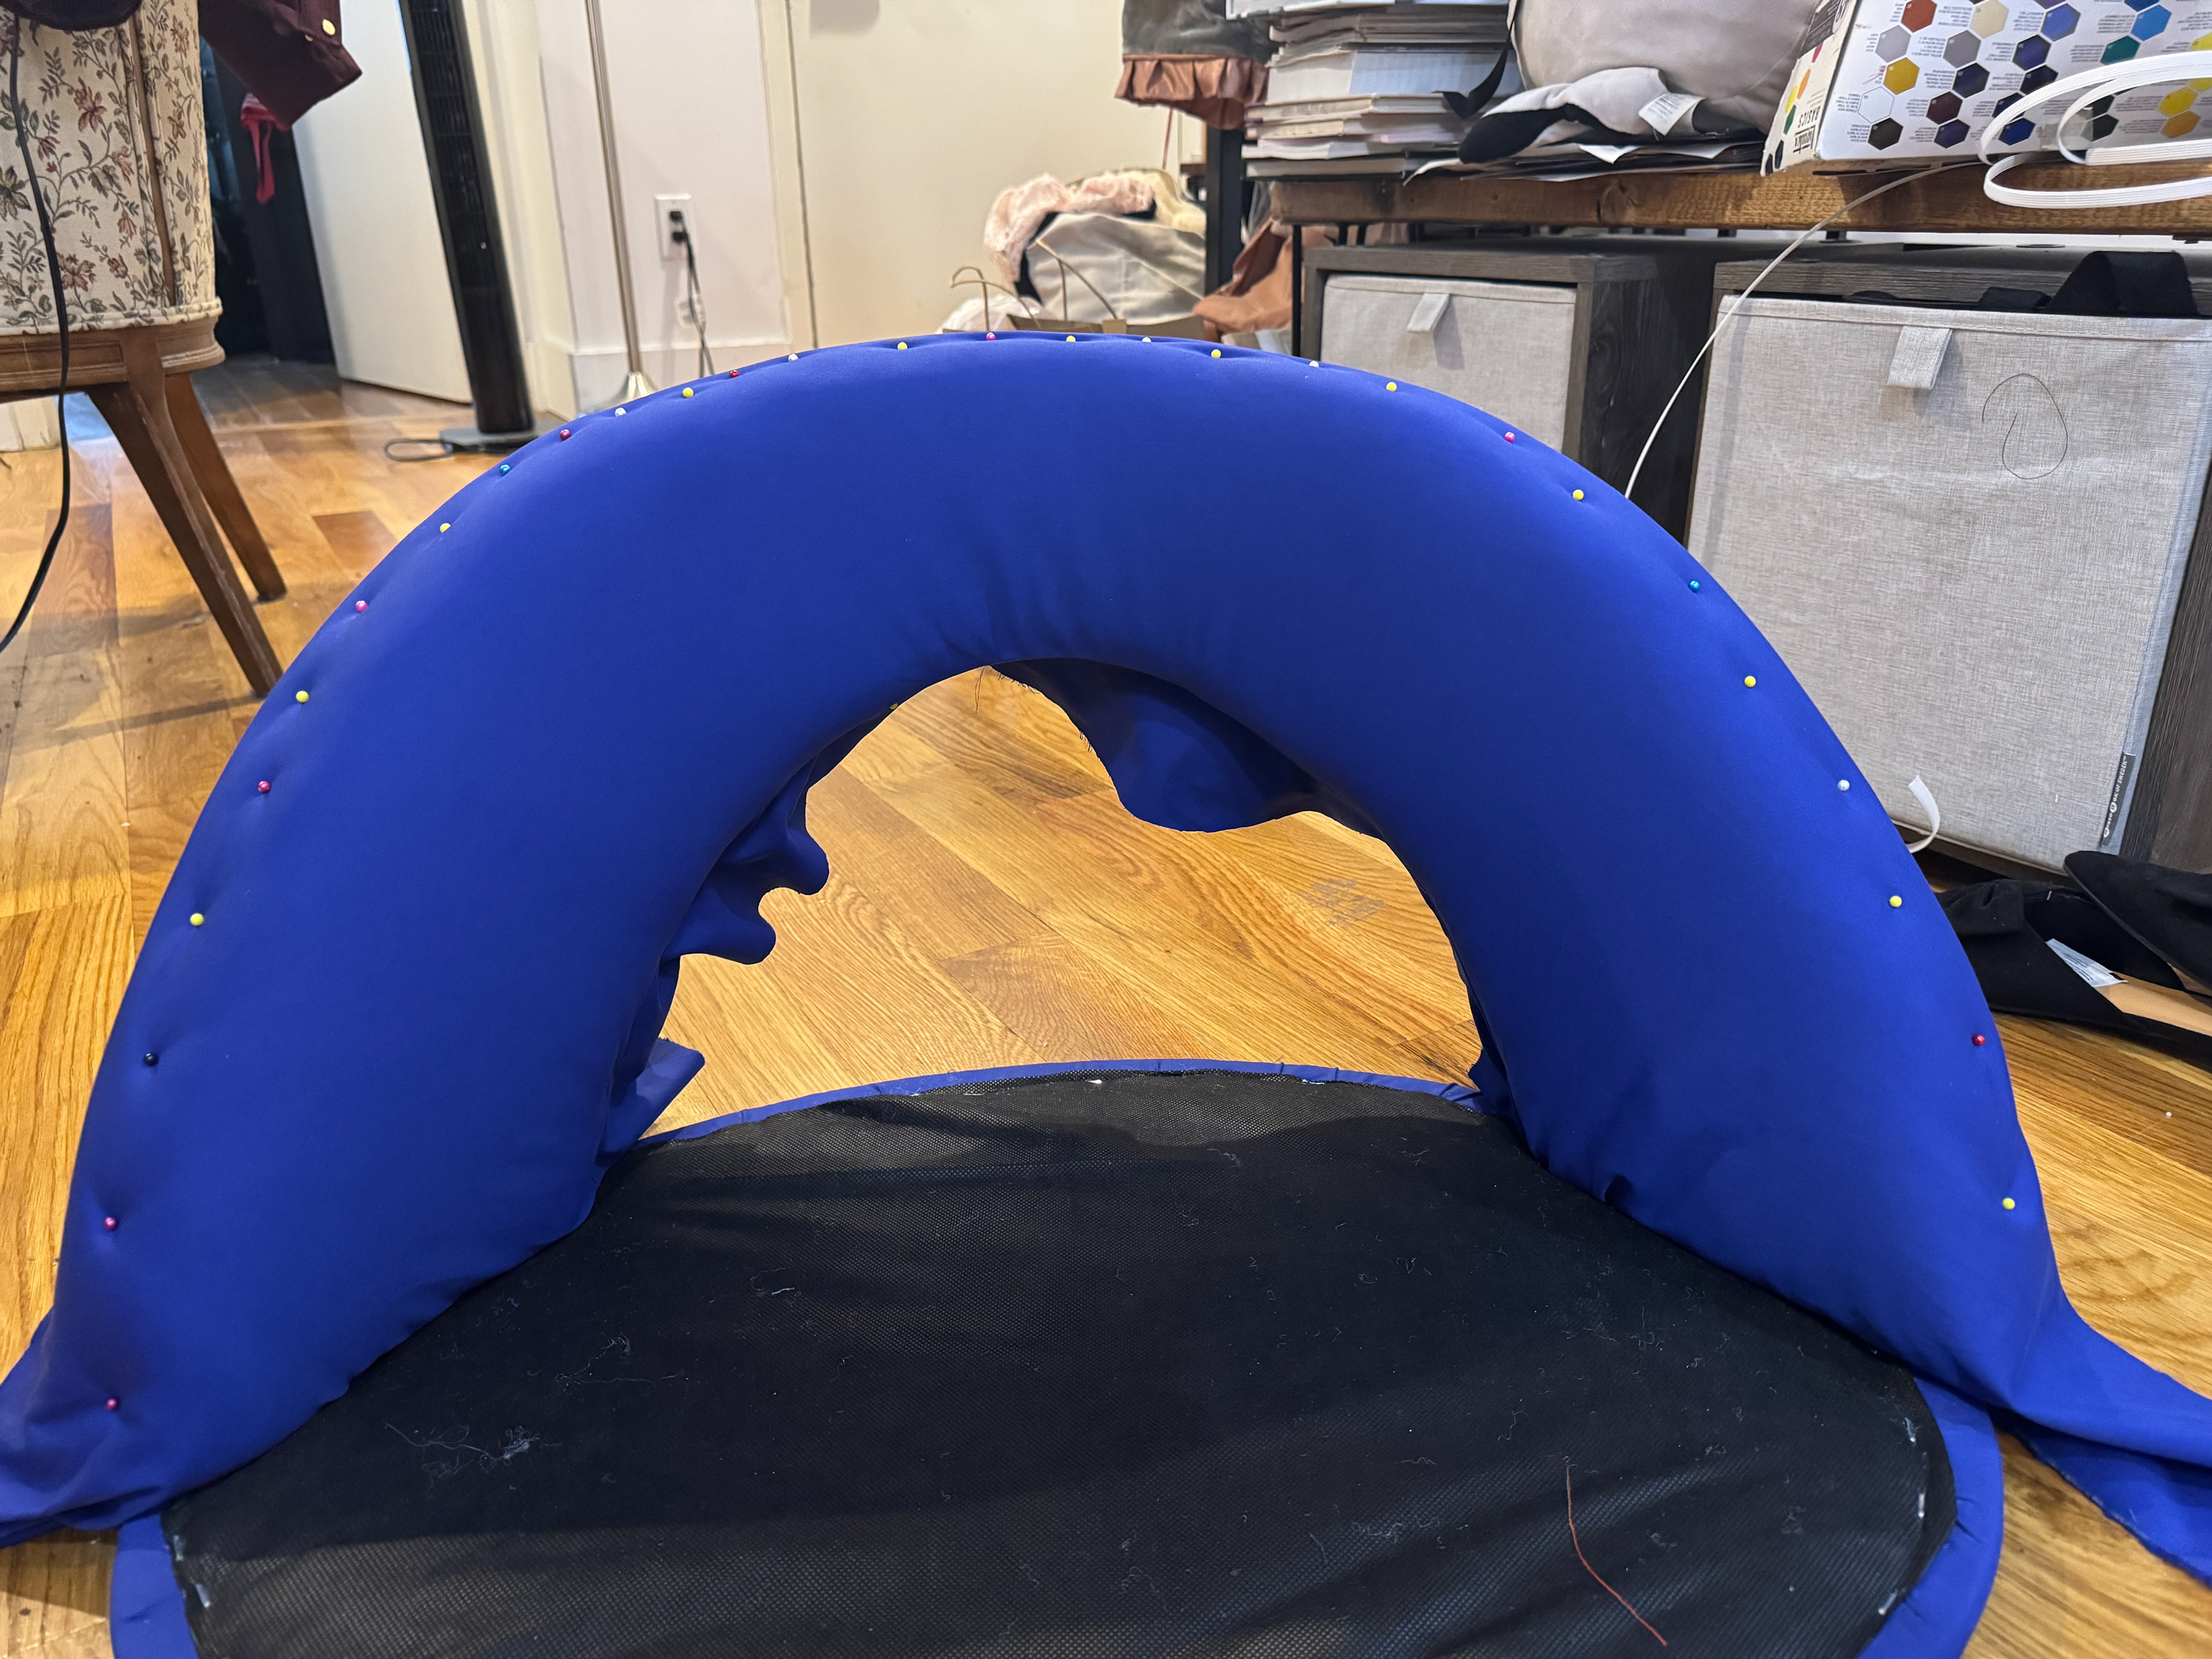
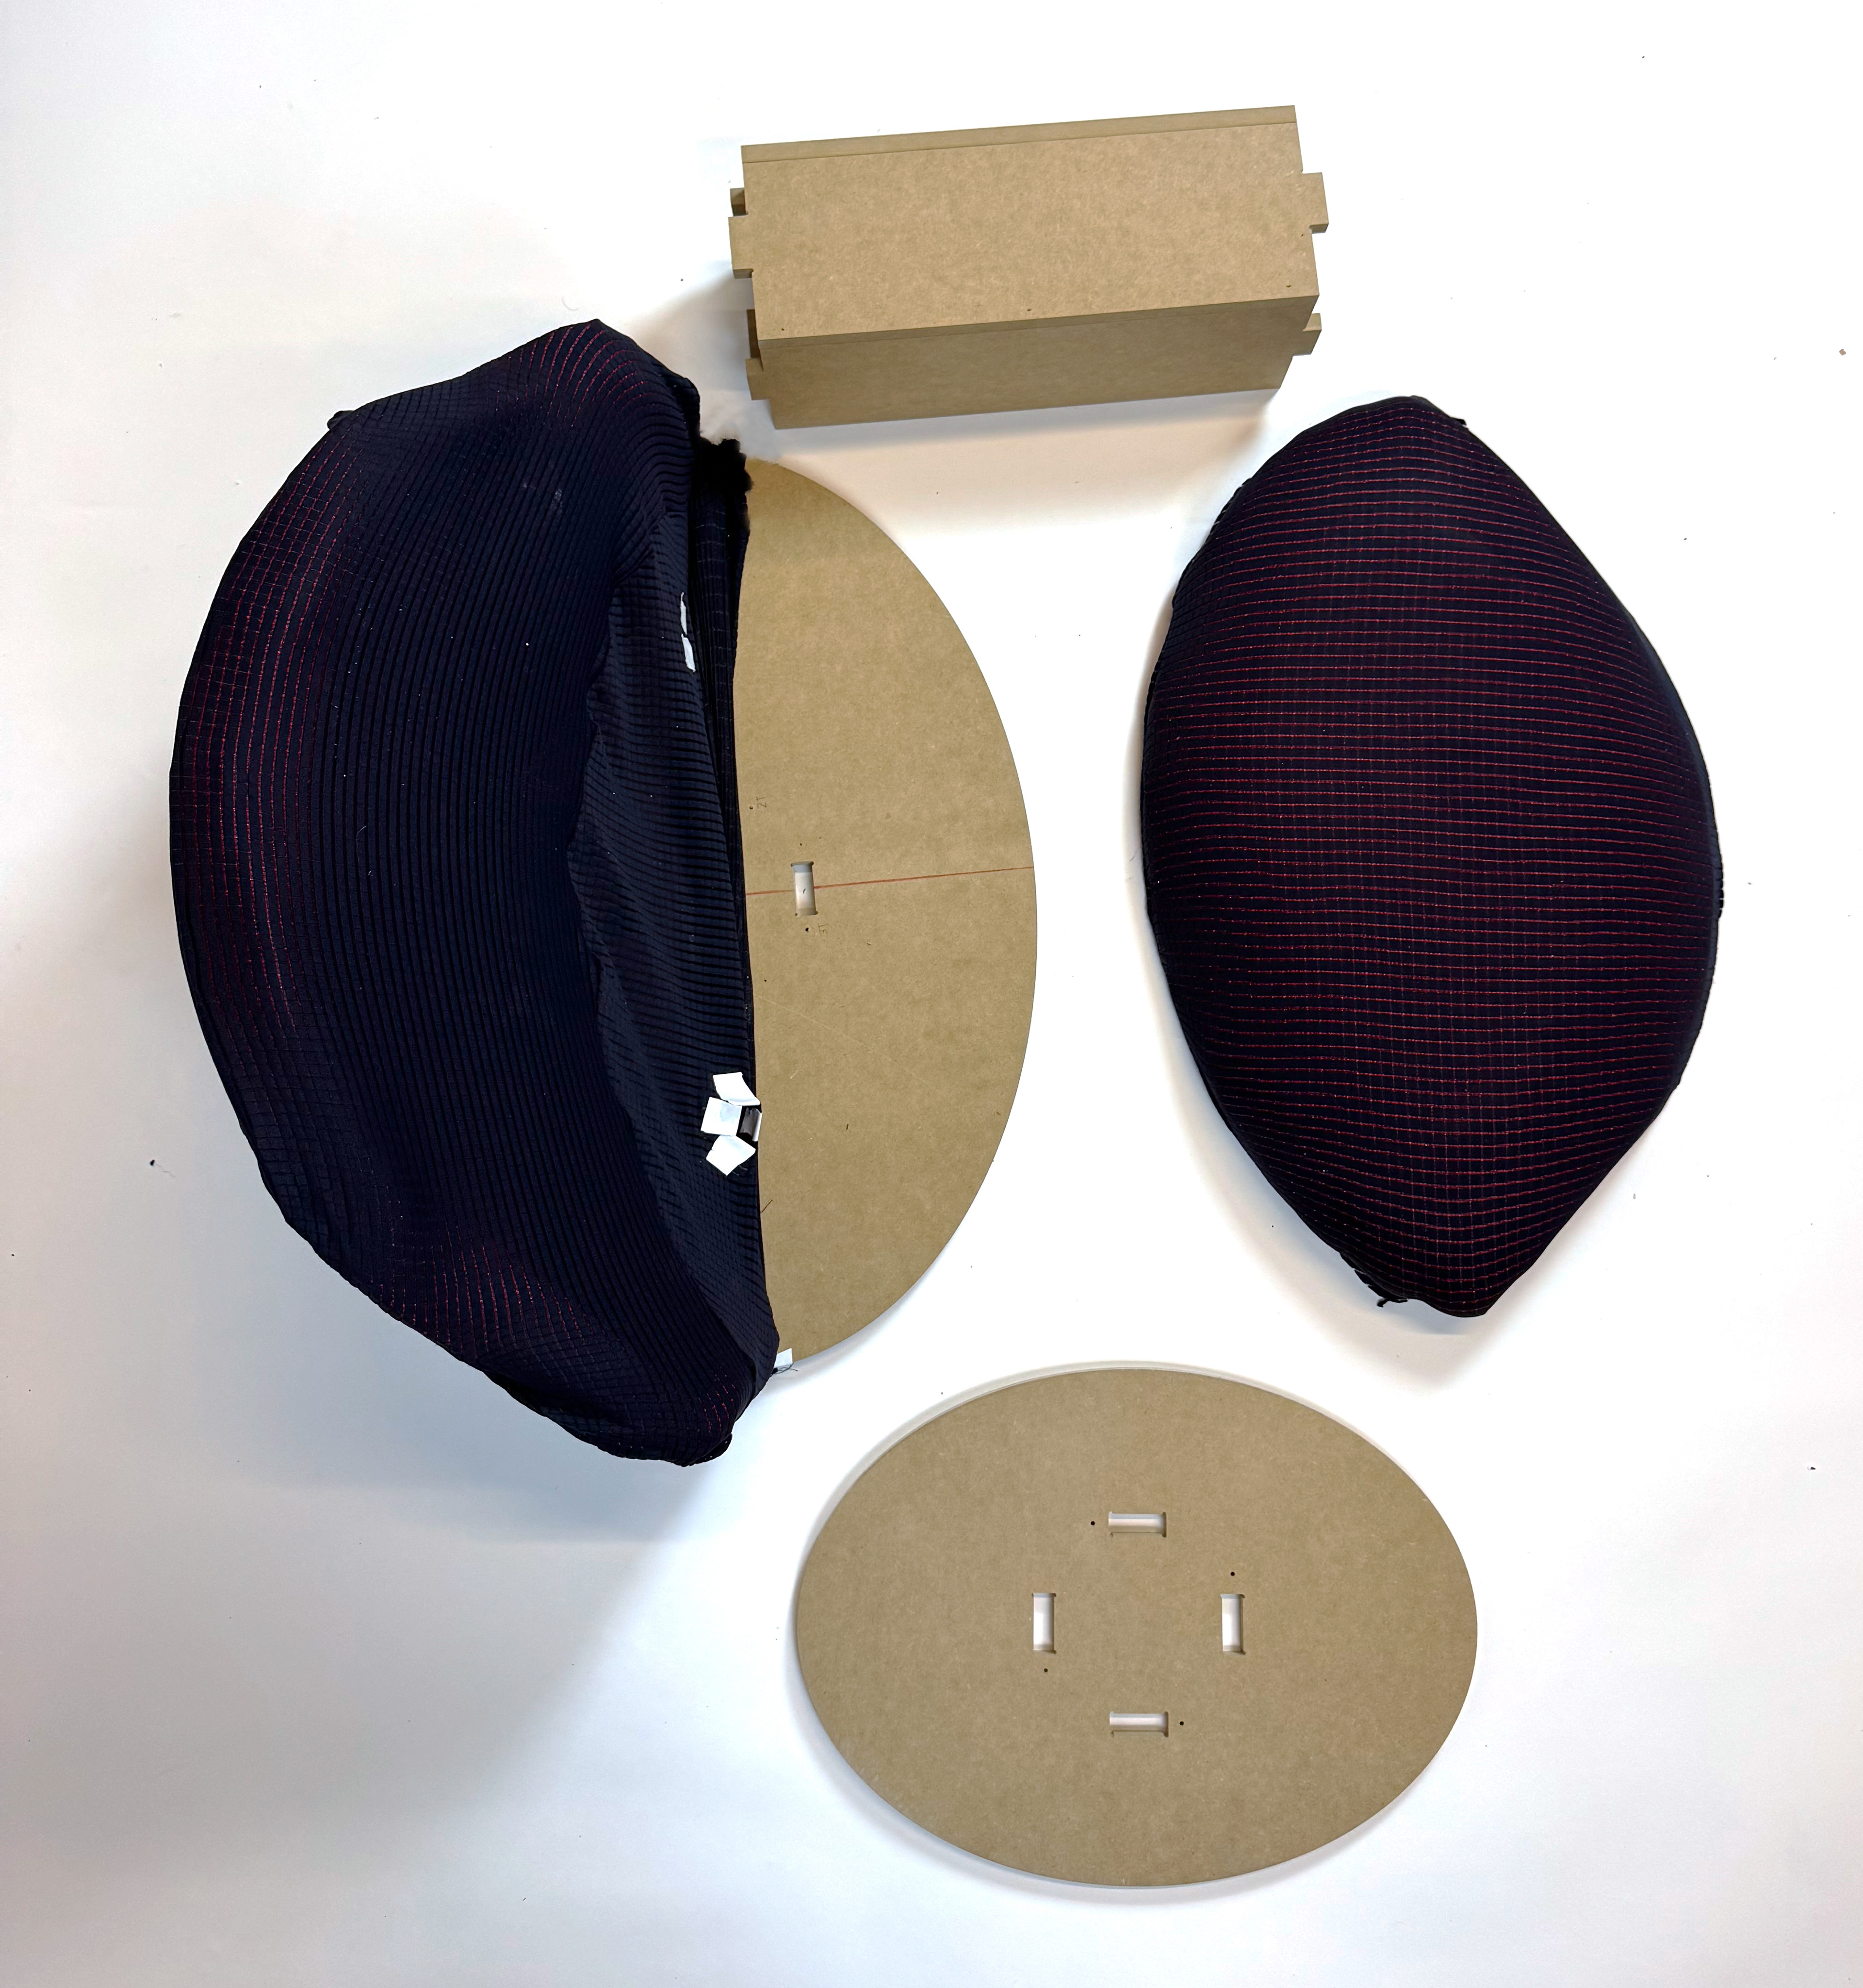
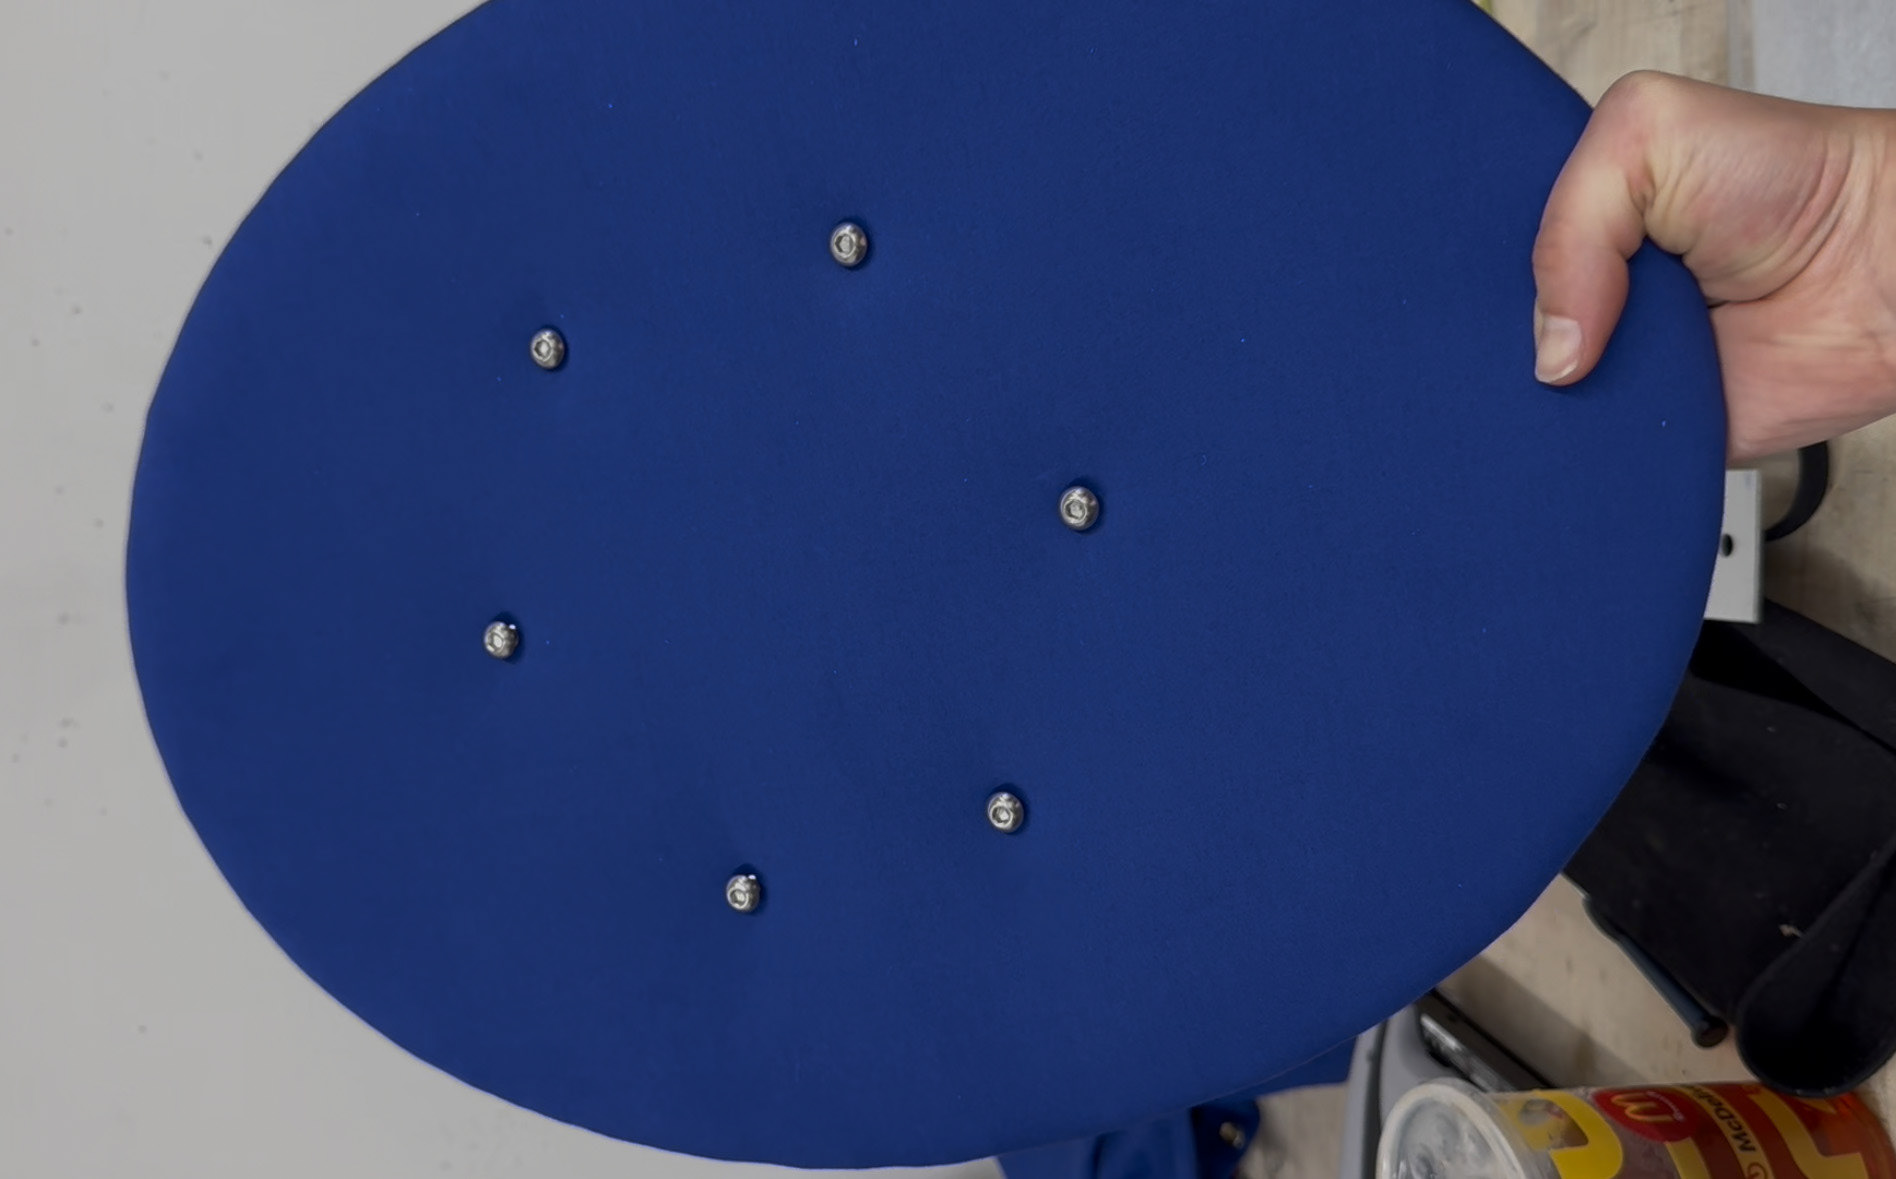
To avoid the wrinkles I initially saw on the top cushion, I pinned and hand stitched the inner curve in order to ensure a smooth finish. To make the chair more cohesive, both the base and seat plywood were covered in batting and upholstered to create a softer, uniform look.
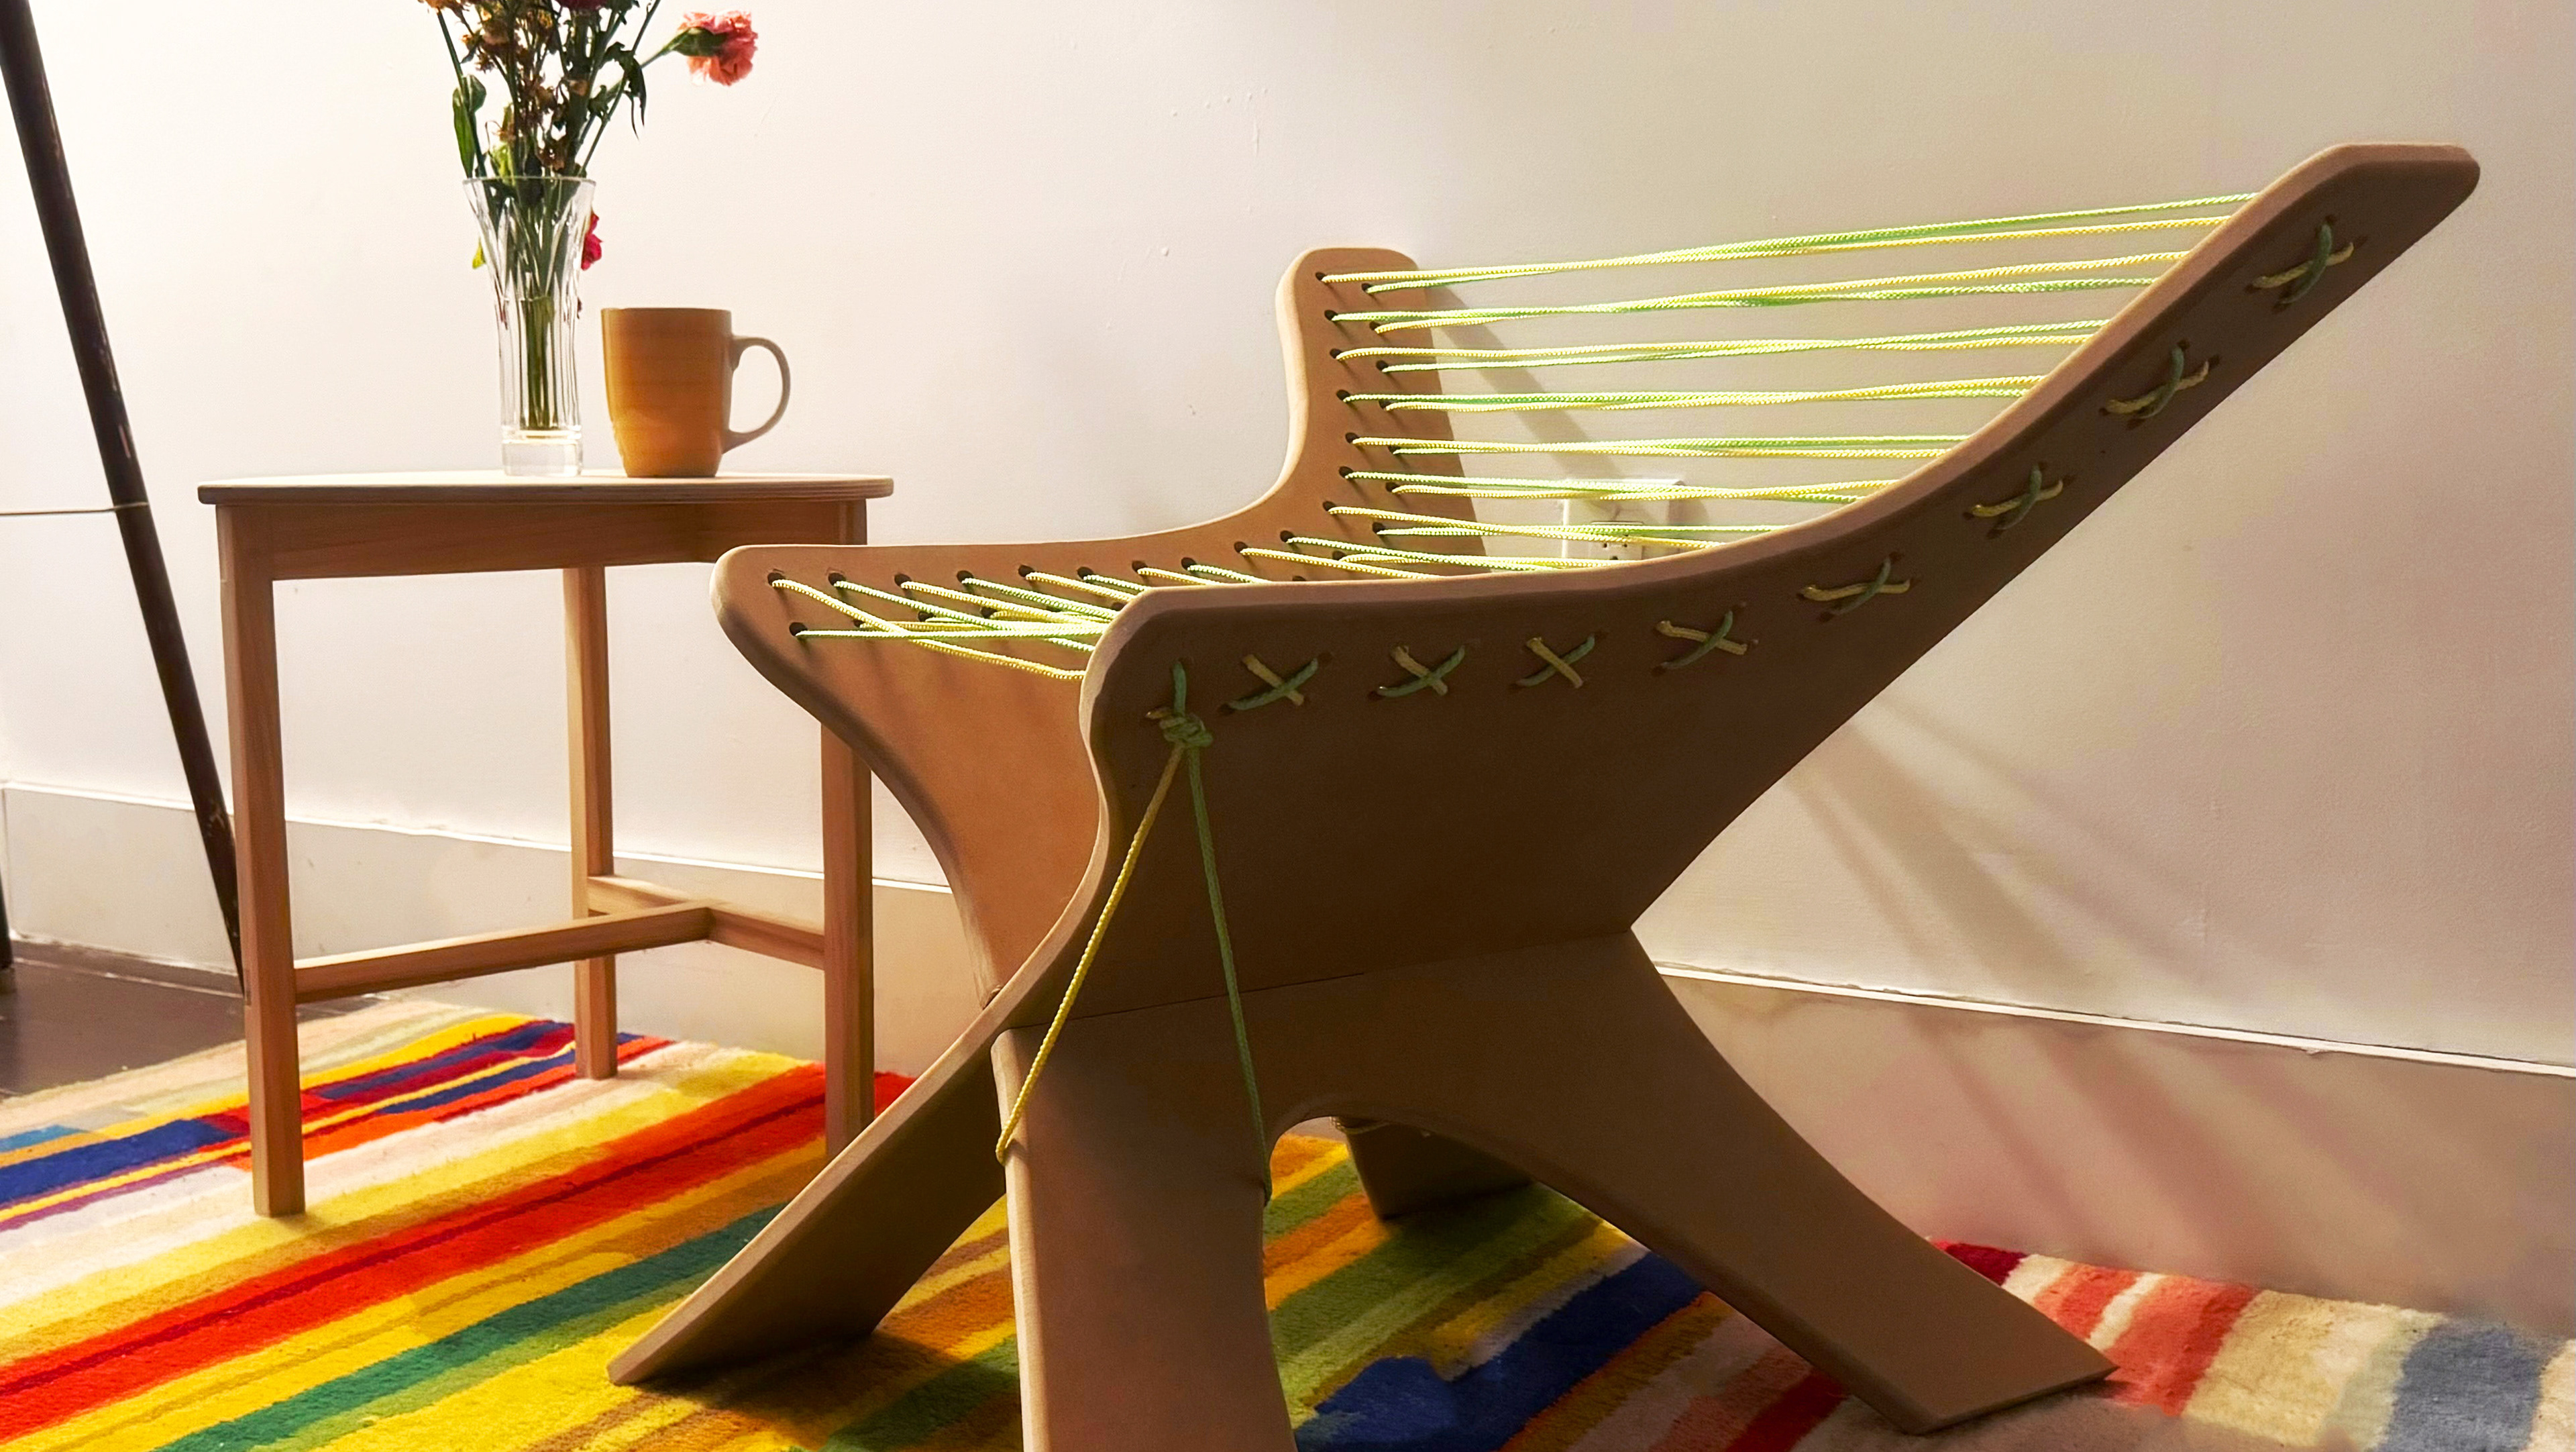
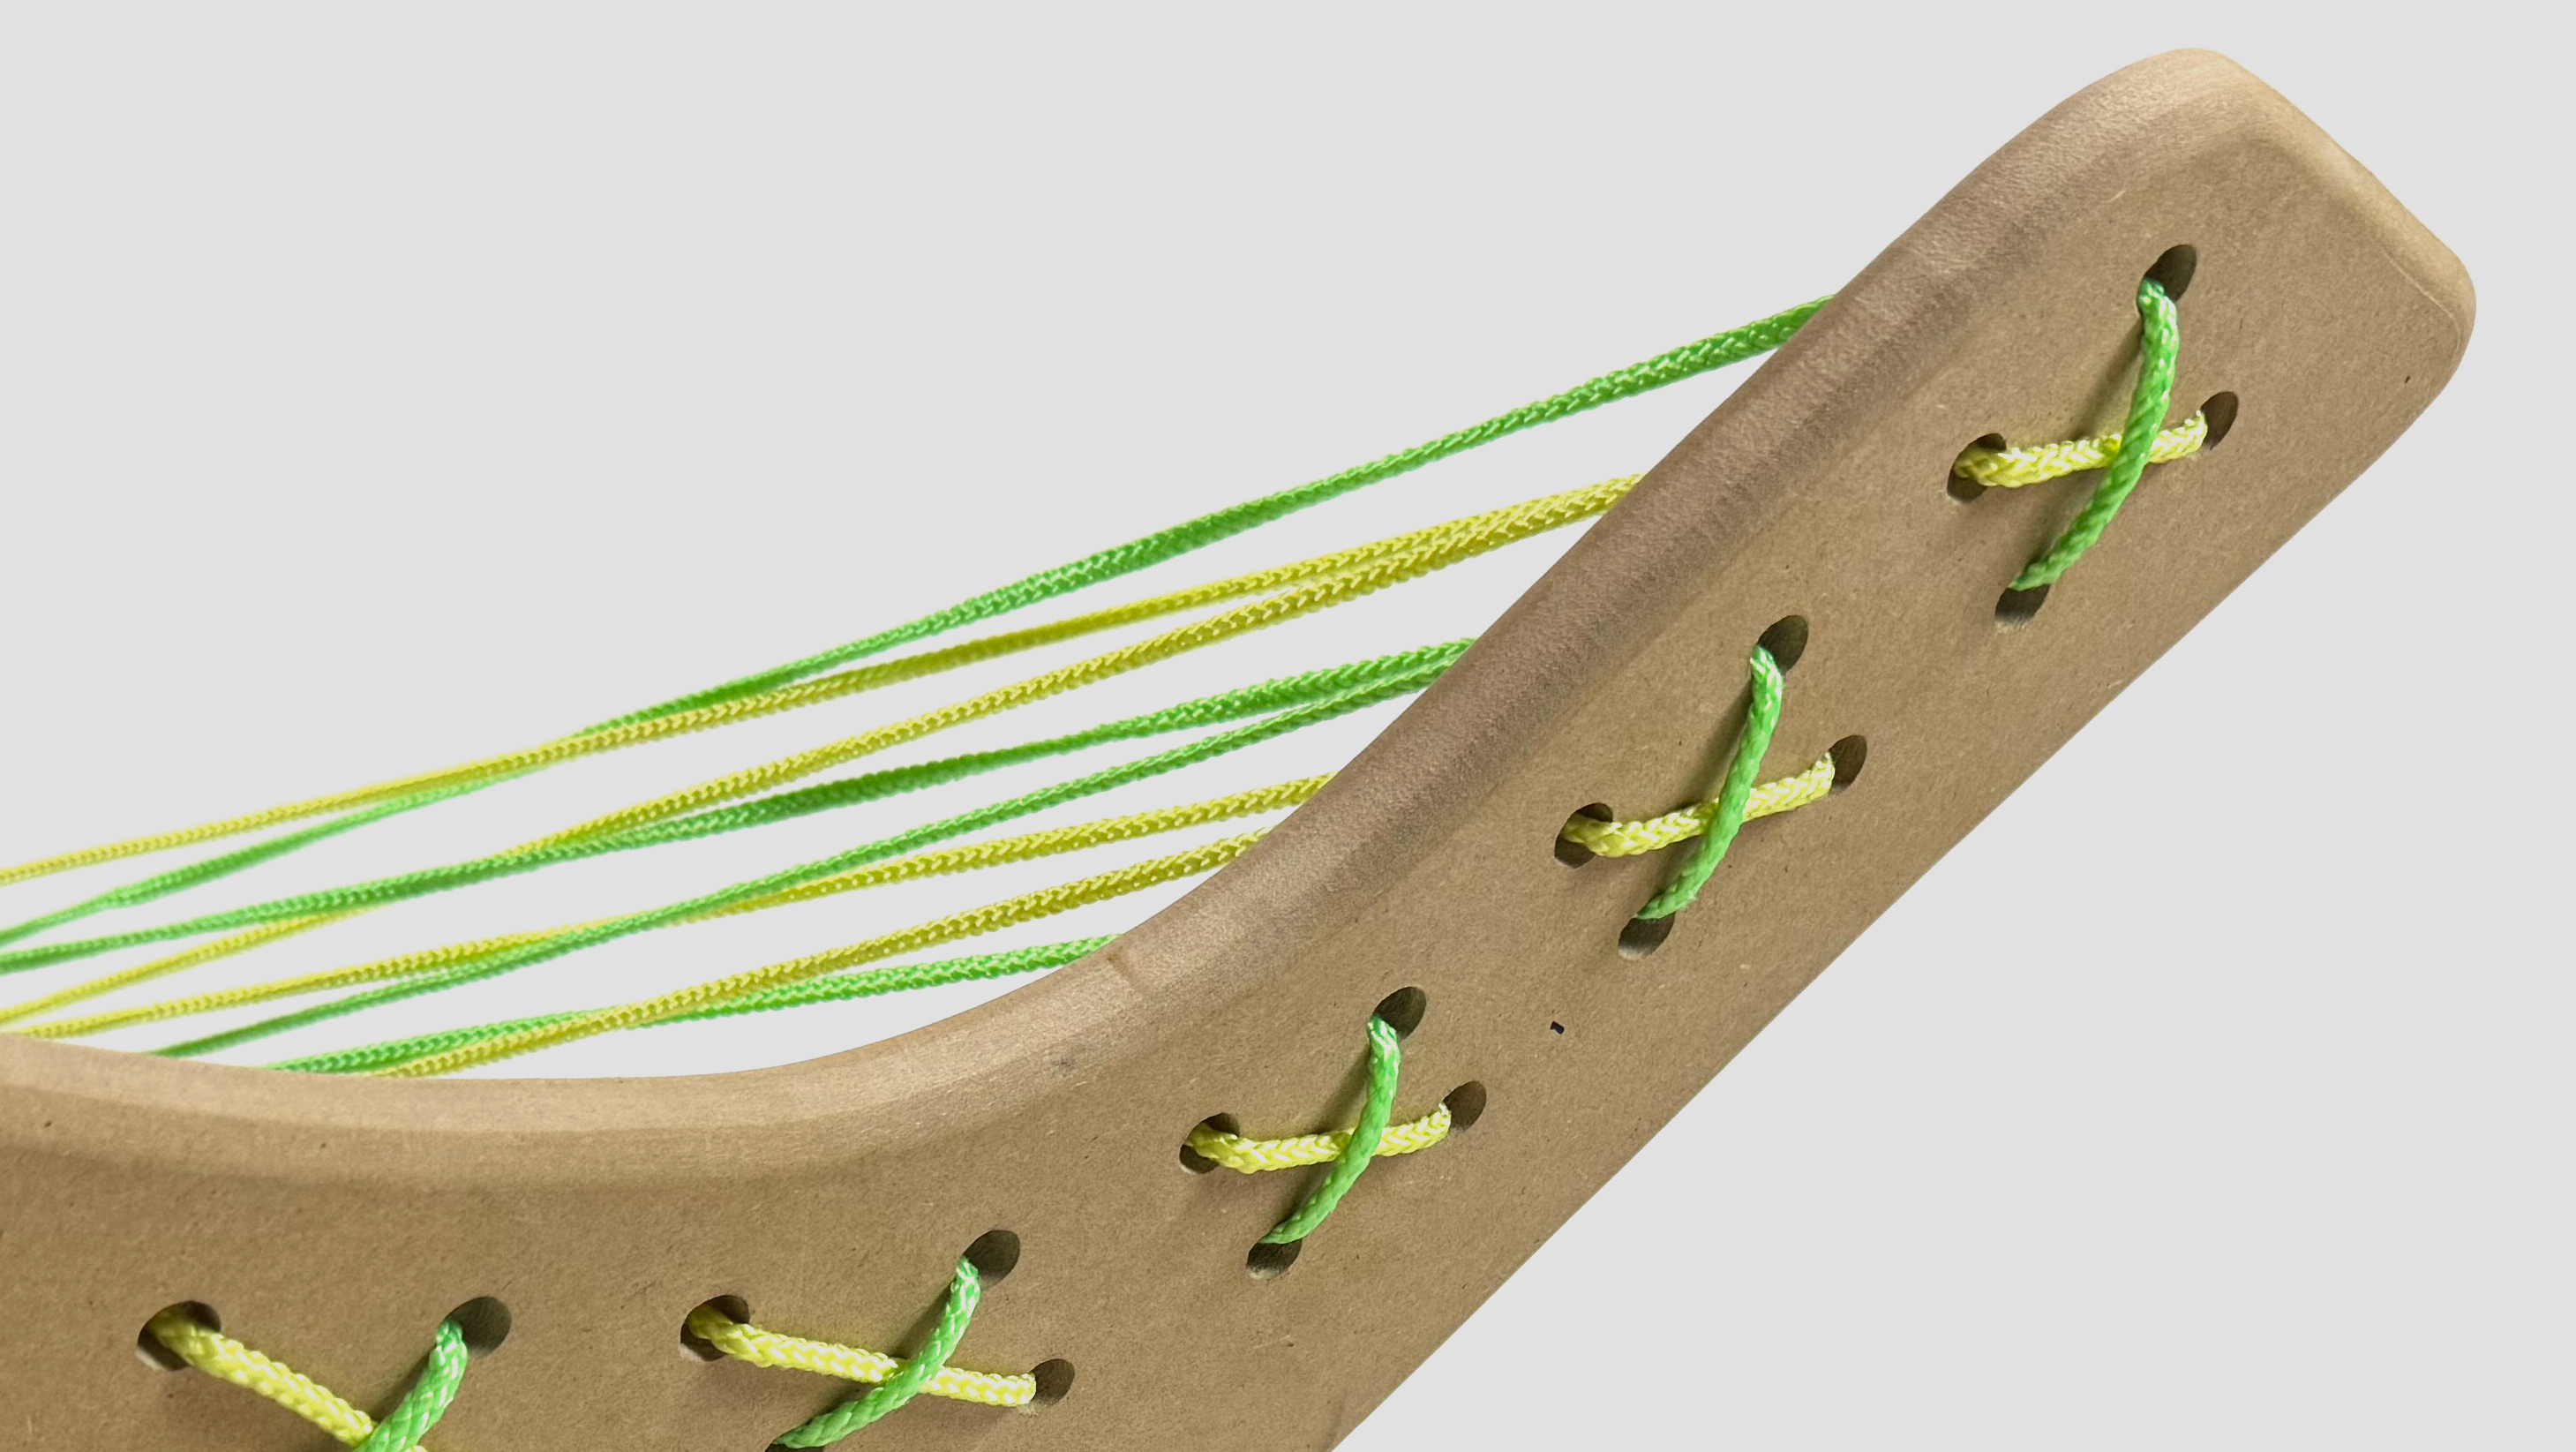
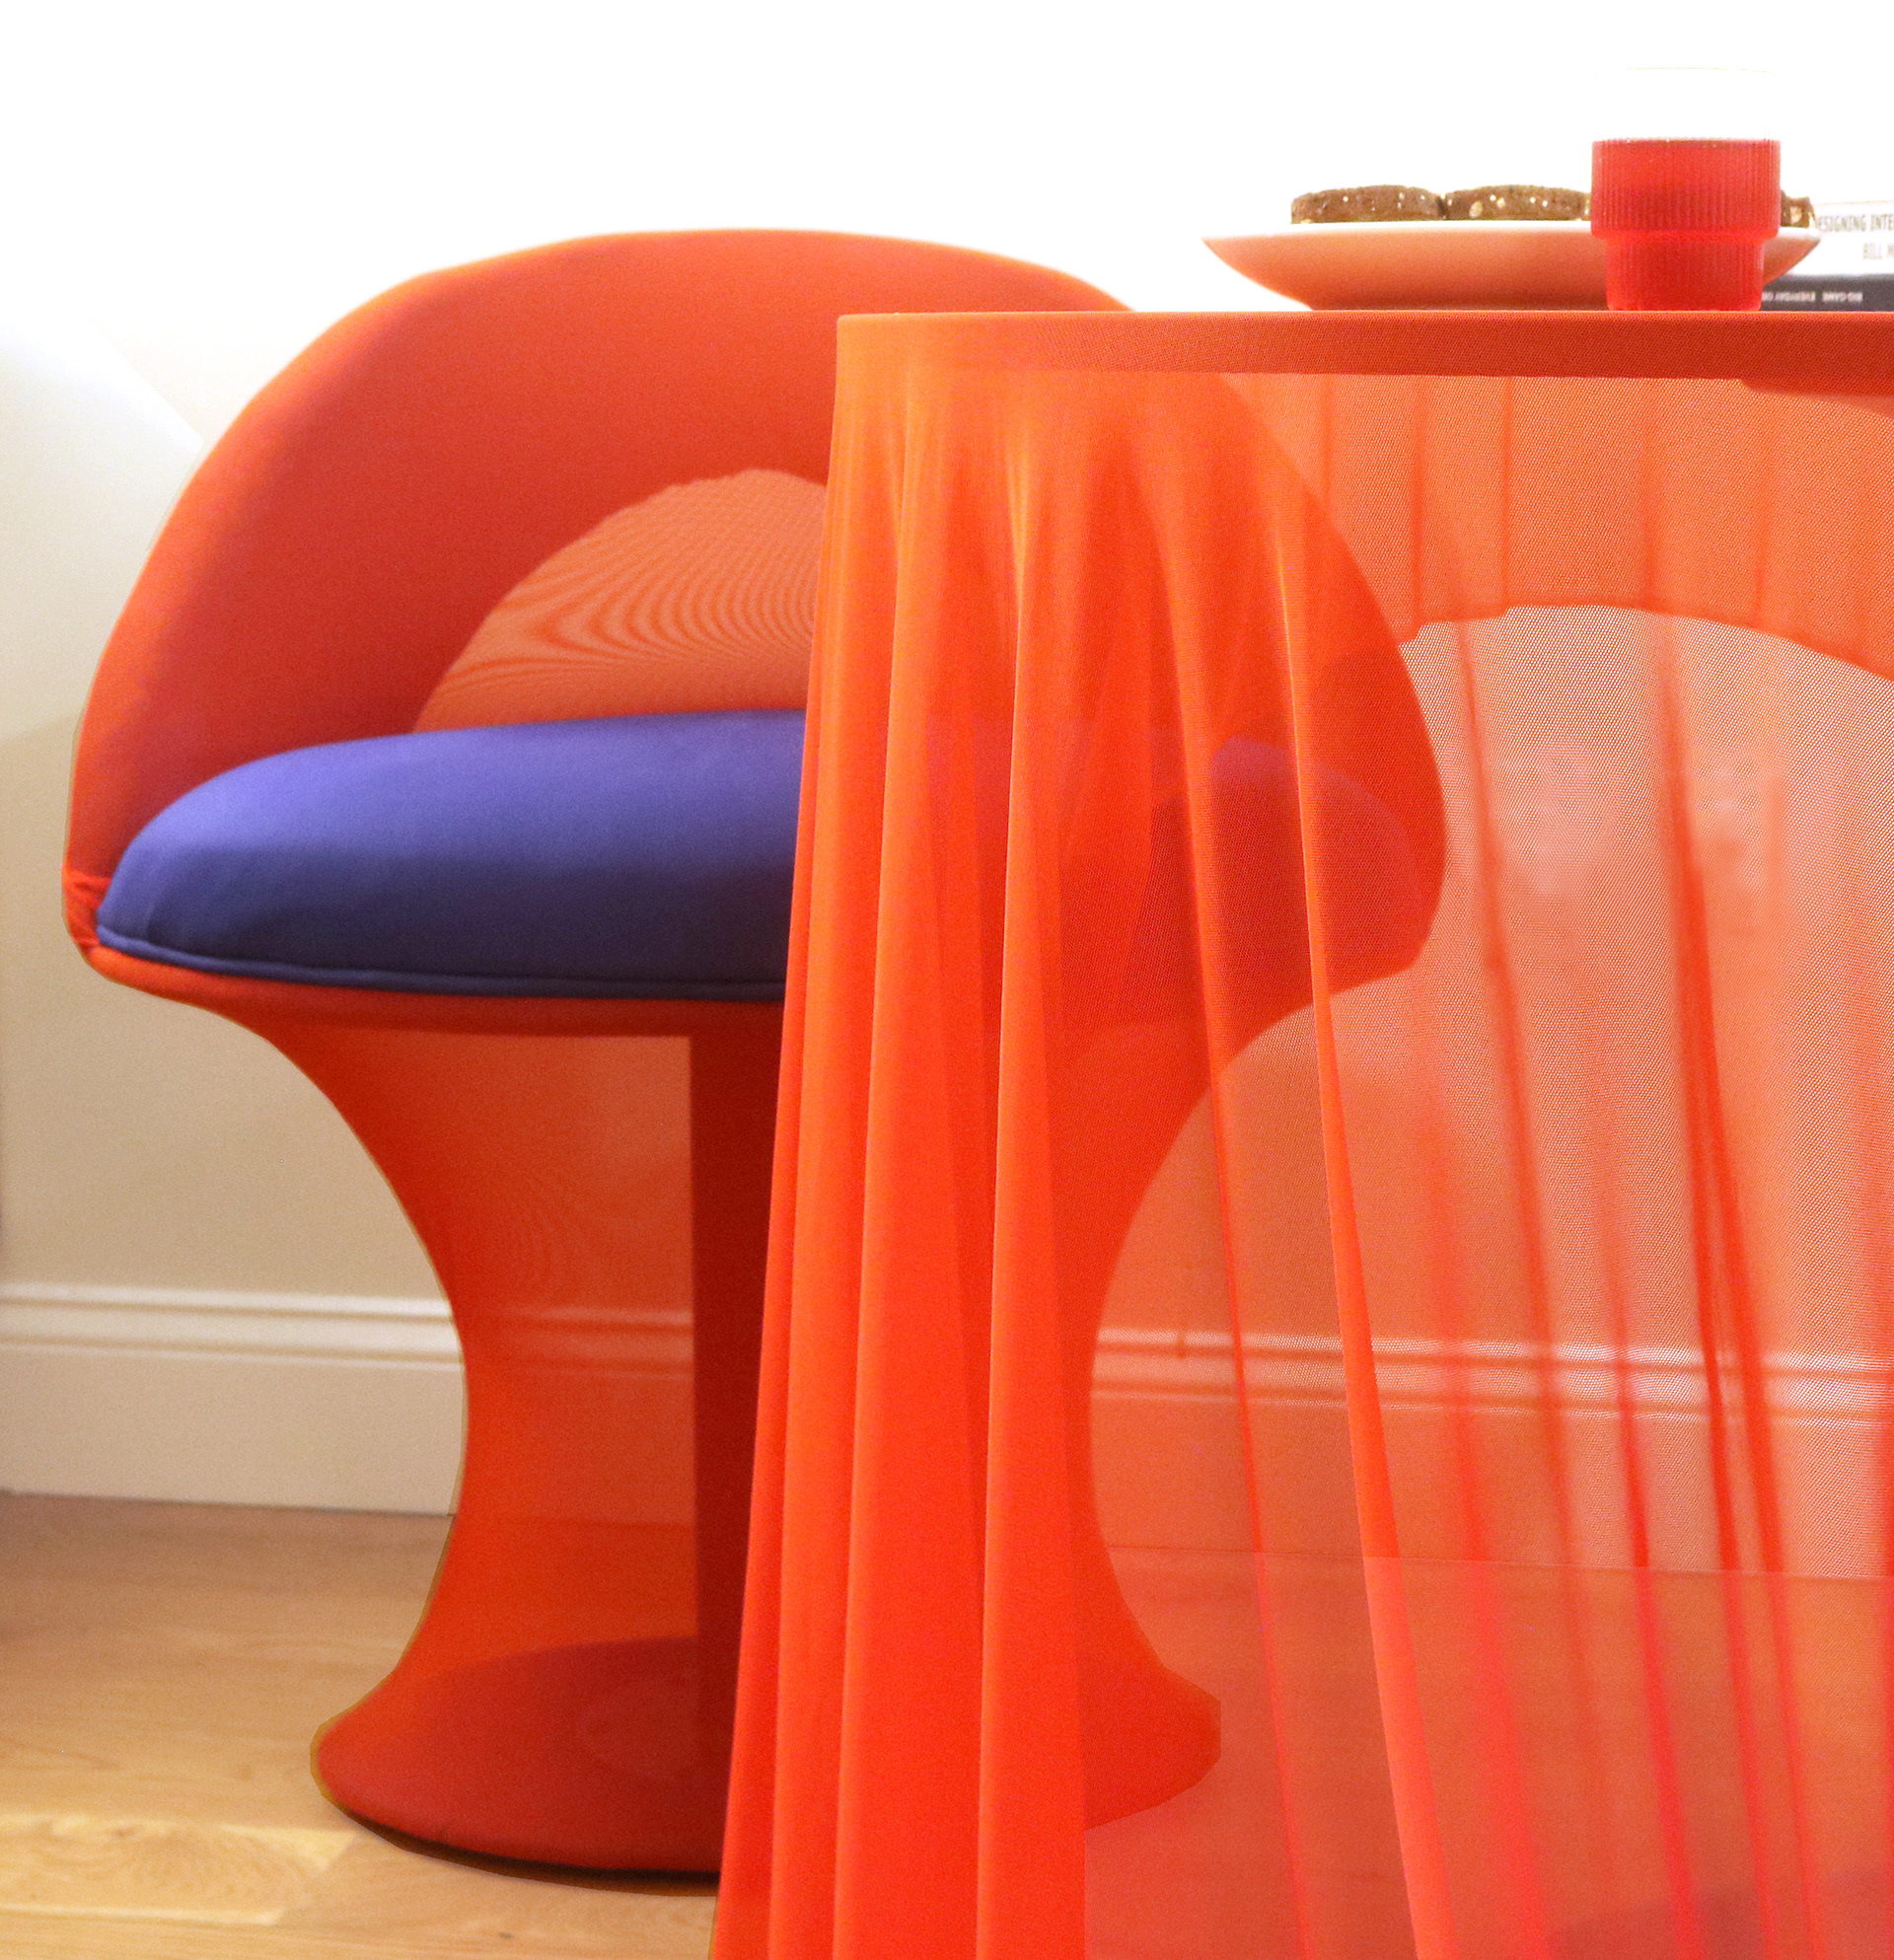
Sleeve Development
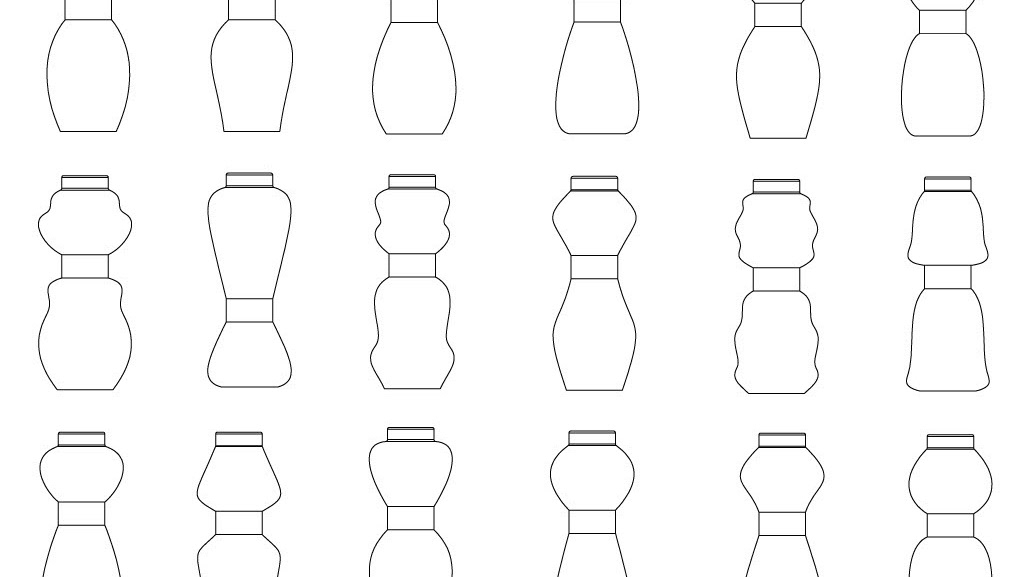
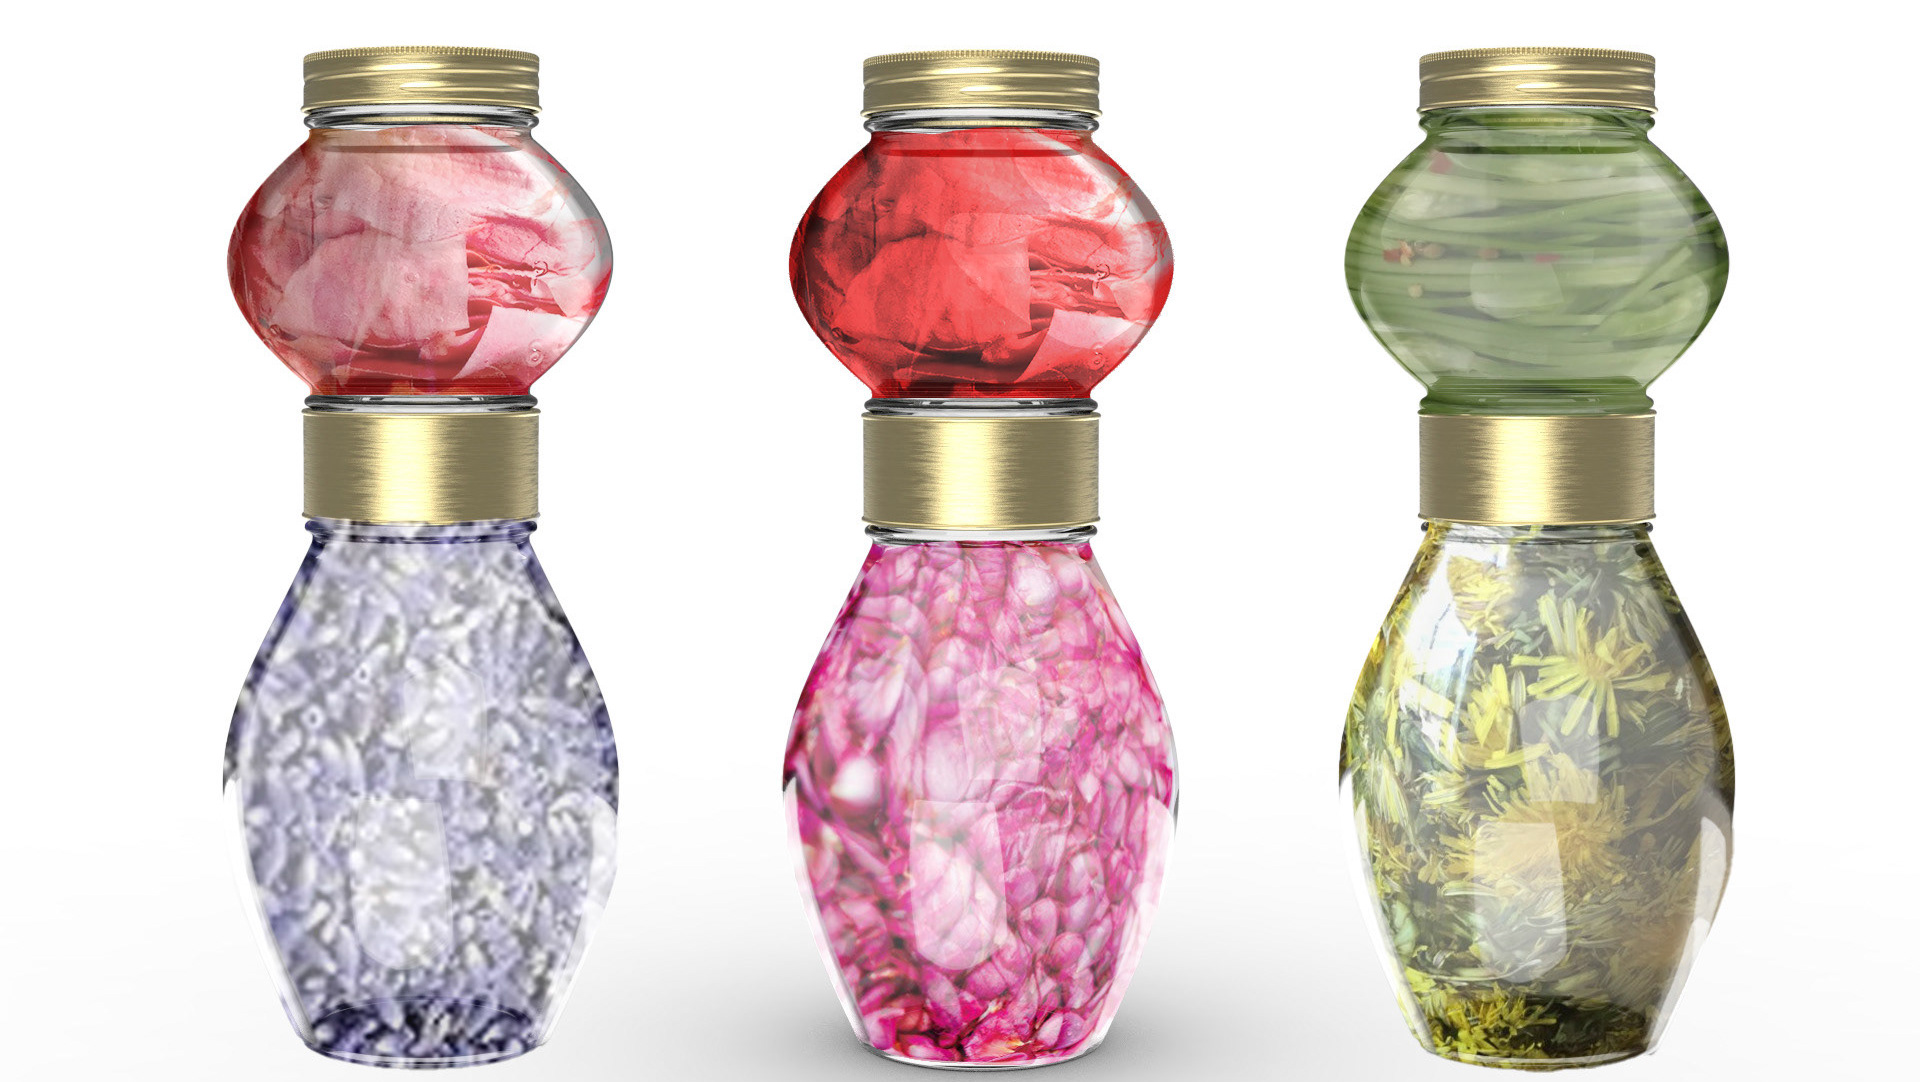
Patterning the stretch fabric sleeve and choosing the correct fabric proved to be an intensive task, as each iteration had to be created in final fabric to properly assess stretch, and minimizing seam appearance while leaving give for the top cushion proved finicky. Overall, it took six attempts to create the perfect stretch sleeve.

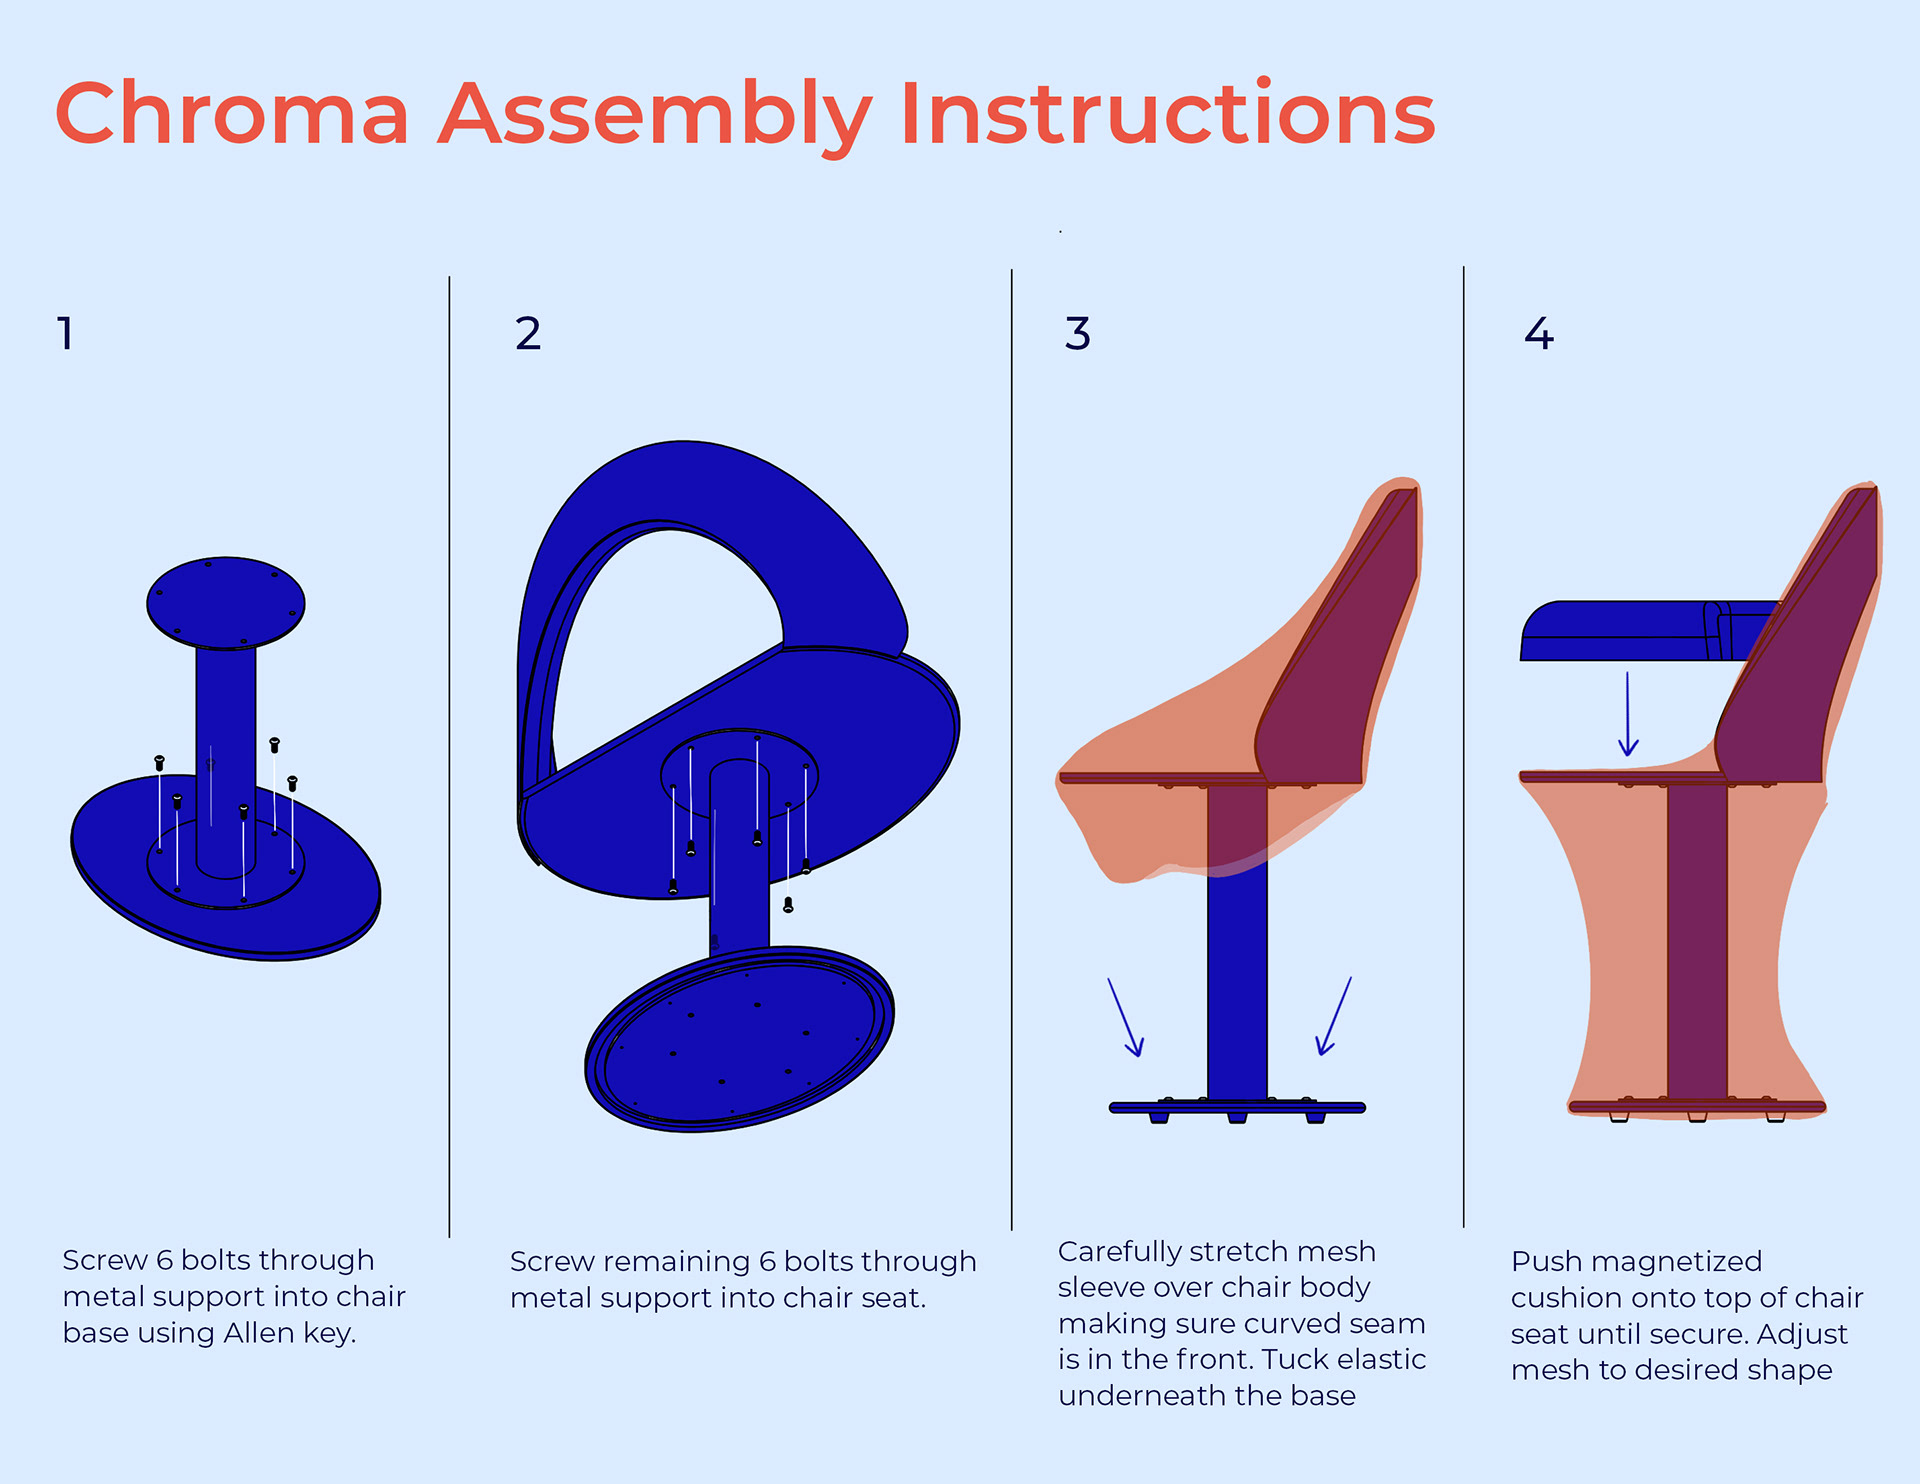
Assembly